
Compact machine structure
Desktop Laser Marking Machines
Compact benchtop and all-in-one laser marking systems for workshops, small factories and distributors. Compare machine footprint, workpiece capacity, integrated controls and Fiber, UV or CO2 source routes before choosing a model.
- Compact workstation footprint
- Fiber, UV and CO2 source routes
- Configured and tested before shipment
Machine structure
What Counts as a Desktop or Benchtop Laser Marking Machine?
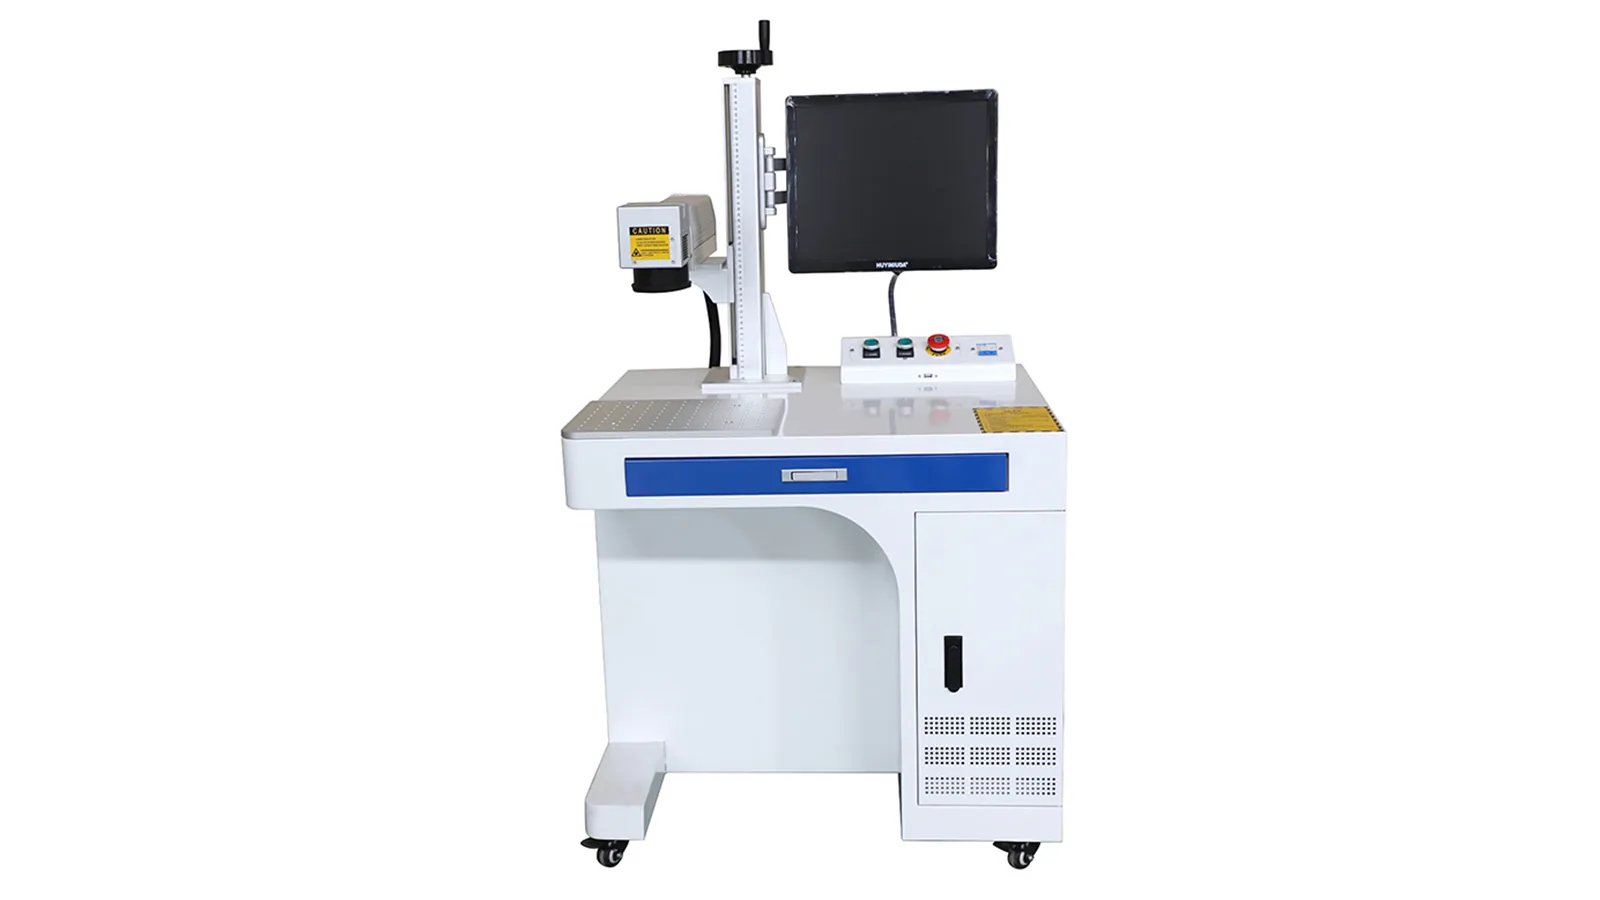
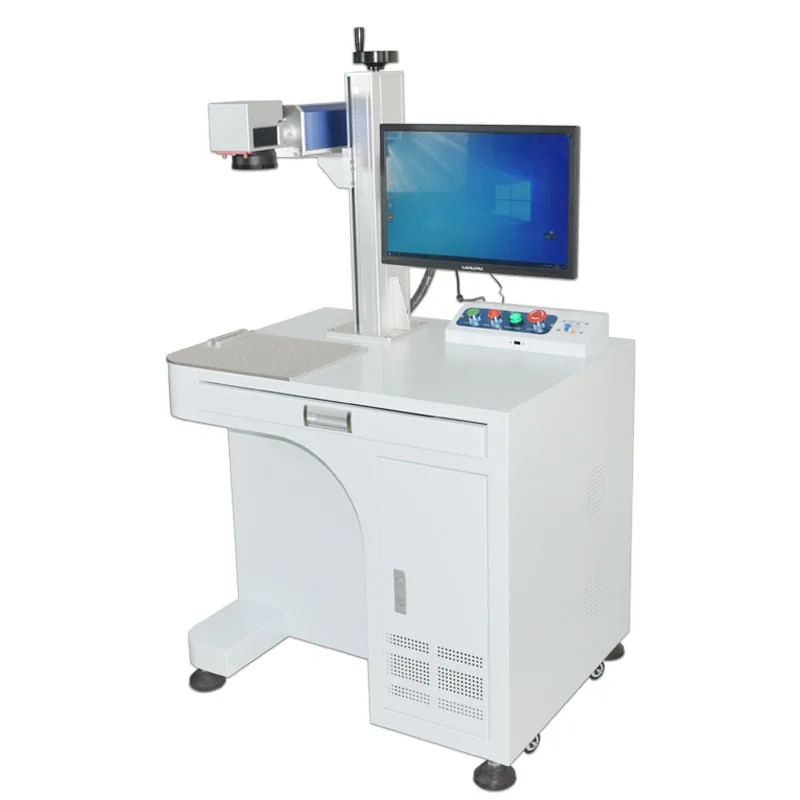
A desktop laser marking machine is designed as a compact workstation with the machine structure, operator loading area and control hardware arranged for bench-height use. It is a physical machine category, not simply any split machine placed on a table.
- Compact footprint: the complete workstation is intended to fit a defined bench or small production area.
- Manual part loading: the operator places a part, tray or fixture within a fixed marking area.
- Integrated or closely packaged controls: the computer, controller, source and marking head are arranged as one workstation or a compact equipment package.
- Repeatable work height: the column, lifting range and fixture space must suit the actual workpiece.
- Different source options: Fiber, UV or CO2 can use a desktop structure when the physical machine is designed around that format.
Desktop platform decision
Why Choose a Desktop Laser Marking Machine?
A desktop machine is most useful when the marking task fits a compact fixed workstation: the operator can bring the part to the machine, manual loading is acceptable, and the workpiece plus fixture stay within a controlled work envelope. Its main value is not a different laser process, but a more compact and integrated machine structure.
Advantages
Where a Desktop Platform Works Well
- Compact footprint: suitable for workshops, small production areas, laboratories and distributor demonstration spaces where floor area is limited.
- Integrated workstation: the marking head, work area and control hardware are arranged around one defined operator station, reducing the need to plan a separate split-machine layout.
- Convenient manual loading: well suited to small and medium parts, trays and repeat fixtures that an operator can place directly on the worktable.
- Repeatable part setup: a fixed column, worktable and fixture position can make focus height and part placement easier to reproduce between batches.
- Flexible laser-source choice: the same desktop structure can be configured around Fiber, UV or CO2 routes when the source and optics match the actual material and marking target.
- Practical for standard production tasks: useful when the process does not require a large floor-standing cabinet, conveyor integration or a project-scale automation cell.
Limitations
Trade-Offs to Check Before Choosing Desktop
- Limited work envelope: machine width, Z-axis travel, lens working distance and fixture size restrict the maximum practical part dimensions.
- Manual handling is usually central: a desktop platform is less suitable when the workpiece is too large, heavy or fixed in place to be brought to the station efficiently.
- Less room for large automation hardware: robot loading, multi-axis fixtures, large nests or complex motion systems may require a cabinet or project-based machine structure.
- Continuous-line production needs another route: products moving on a conveyor are normally better evaluated as inline or flying-marking applications rather than desktop workstations.
- Safety enclosure requirements can change the machine category: if a fully guarded work cell, interlocks, extraction and controlled operator access are the primary requirement, an enclosed machine should be evaluated directly.
- Compact does not mean universal: the desktop format should be selected from the actual part, fixture, operator cycle and workspace—not simply because the machine occupies less space.
Best fit: choose a desktop laser marking machine when you need a compact fixed workstation for manually loaded small-to-medium parts and want the machine structure to remain simple, accessible and easy to place within the production area. If the workpiece, automation, conveyor flow or safety envelope exceeds that boundary, another machine structure is usually more appropriate.
Desktop machine routes
Choose the Desktop Platform First, Then Match the Laser Source
Desktop describes the physical machine structure. Fiber, UV and CO2 describe different laser-source routes. Start with how the operator loads the part and how much workbench space is available, then choose the source that produces the required mark on the actual material.
Fiber / desktop
Desktop Fiber Laser Marking Machine
Compact all-in-one route for permanent marking on metals and selected engineering plastics when the part can be loaded at a fixed bench station.
UV / desktop
Desktop UV Laser Marking Machine
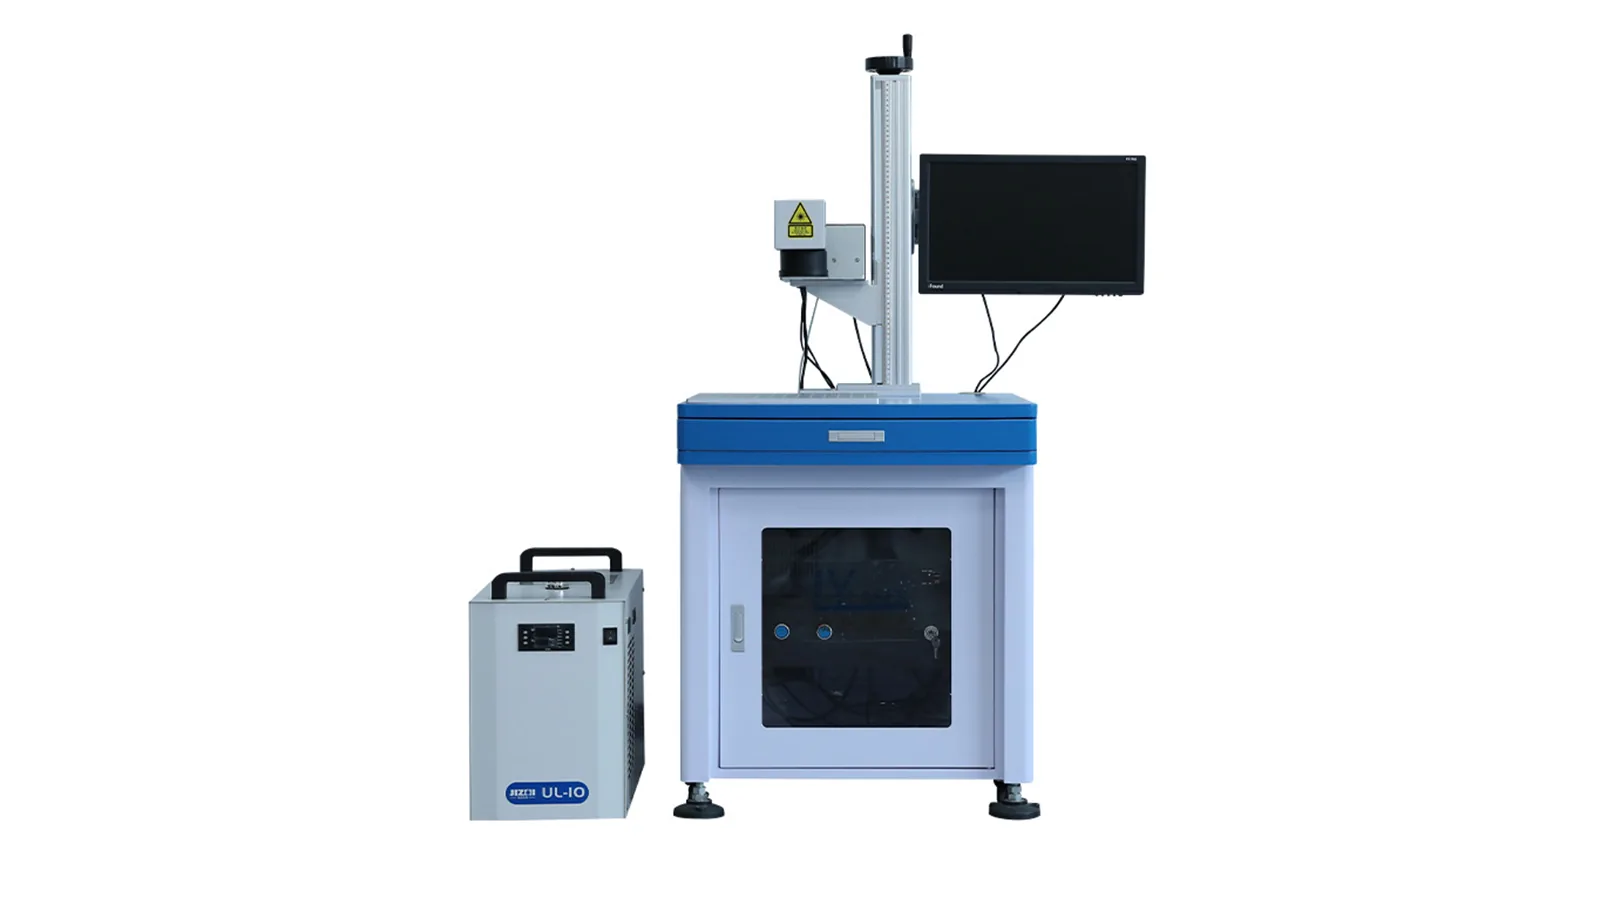
Desktop UV route for plastics, electronics, glass and other parts where fine features or lower heat input may be important. Final suitability should be confirmed with a sample test.
CO2 / desktop
Desktop CO2 Laser Marking Machine
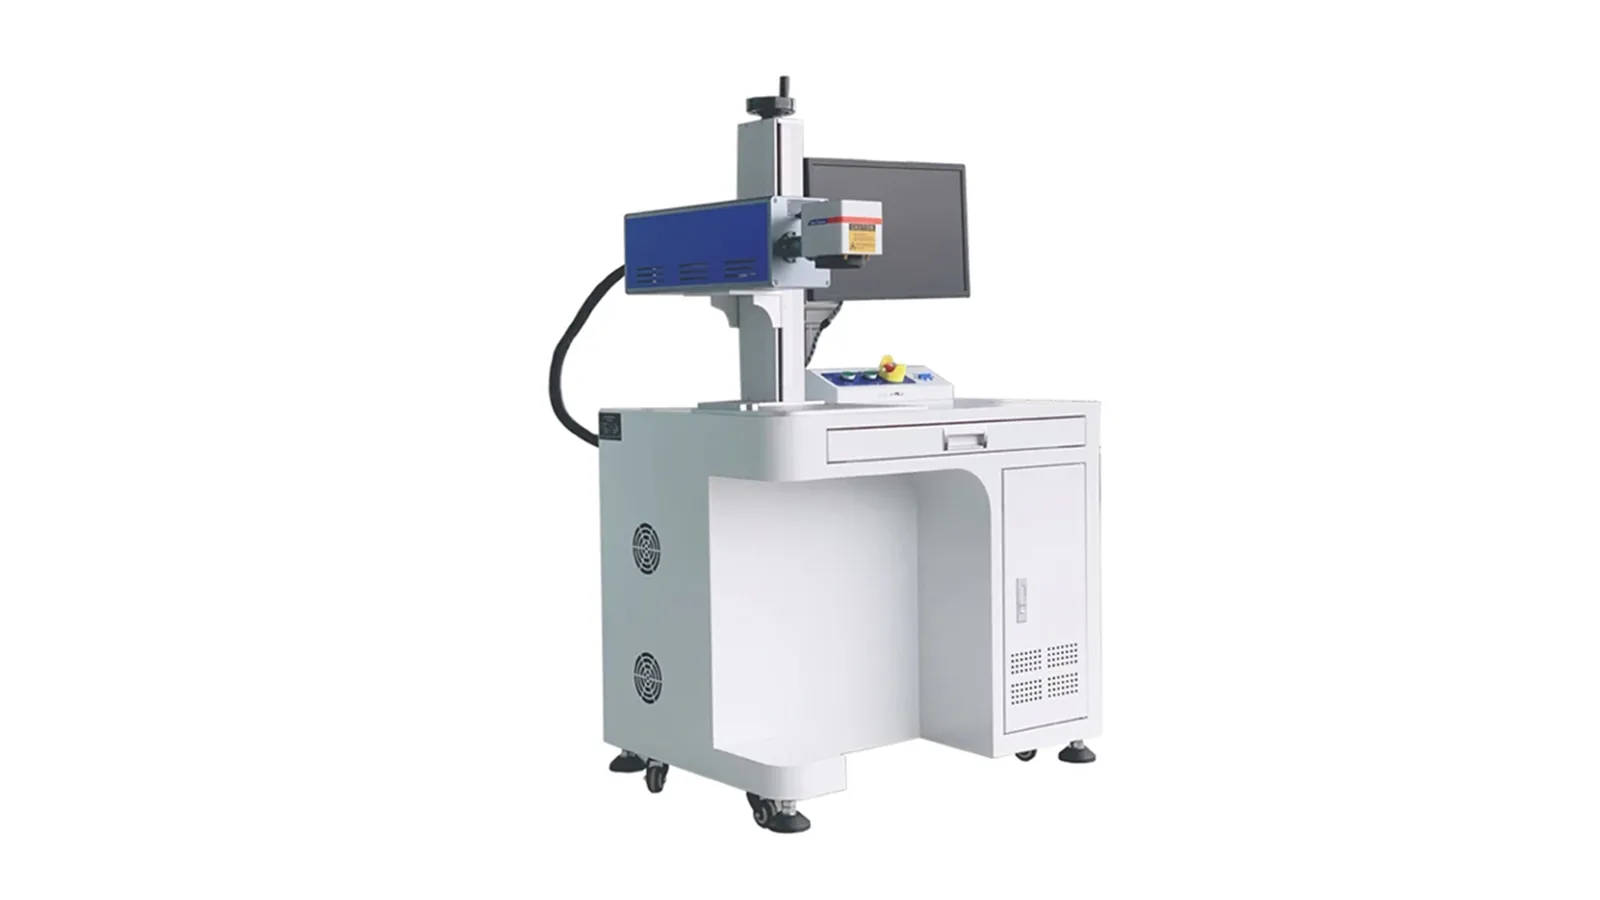
Desktop CO2 route for suitable wood, paper, leather, packaging and selected non-metal products when a fixed workstation is more practical than an inline system.
Exact dimensions, power, marking field, workpiece clearance and included accessories vary by model and should be confirmed in the final quotation. Product-family images and category descriptions are for route comparison and do not define the delivered configuration.
Physical buying checks
Dimensions and Workpiece Capacity to Confirm Before Ordering
Desktop buyers often compare wattage first, but machine fit is usually decided by the physical envelope: where the machine will sit, how the part is loaded, whether the fixture fits and whether the marking head can reach the required surface.
Overall Machine Dimensions
Confirm width, depth and height against the actual bench, aisle and service-access space. Include any external chiller, extractor or accessory footprint when applicable.
Usable Marking Area
The lens and optical setup define the usable field. A larger field can change spot size, working distance and detail capability, so do not select the field by size alone.
Maximum Workpiece Height
Check Z-axis travel, focal distance, fixture thickness and the highest part feature. The nominal column travel is not automatically equal to usable workpiece height.
Worktable and Fixture Space
Confirm table size, mounting holes or T-slots, rotary clearance, chuck position and whether the operator can load the part without interfering with the marking head.
Net Weight and Handling
Machine weight matters for workbench loading, relocation and installation. Gross shipping weight should be checked separately on the packing list or quotation.
Controller, Cooling and Power
Confirm whether the computer/controller is integrated, whether the source uses air or water cooling, the destination voltage and any extractor or compressed-air requirement.
No generic dimension table is used on this category page. Exact dimensions, weight, marking field, Z-axis travel, usable workpiece height and delivered accessories should be taken from the confirmed model record and quotation.
Laser source selection
Fiber, UV or CO2: The Same Desktop Format Can Serve Different Materials
The desktop structure solves workstation layout and part handling. The laser source solves a different problem: how the material responds and whether the required contrast, depth, detail or surface effect can be achieved.
| Laser route | Common starting materials | Why buyers consider it | What still needs to be confirmed |
|---|---|---|---|
| Fiber | Metals, coated metals and selected engineering plastics | Permanent codes, logos, serial numbers, etching and many metal marking tasks | Alloy and surface state, source subtype, field, focus, desired contrast/depth and sample result |
| UV | Plastics, electronics, glass, coatings and selected heat-sensitive surfaces | Fine features and applications where lower heat input or different absorption behavior is useful | Material formulation, coating stack, thermal response, cooling, field and sample acceptance |
| CO2 | Wood, paper, leather, packaging and selected non-metals | Good absorption on many organic materials and compatible non-metal surfaces | Material absorption, char or melt behavior, fumes, extraction, field and surface effect |
Machine structure comparison
Desktop vs Split, Cabinet, Portable and Enclosed Laser Marking Machines
Choose the machine structure according to part handling, footprint, workpiece size, operator access and safety boundary. Source type and machine structure are separate decisions.
| Structure | Best starting brief | Footprint / loading | Main selection question |
|---|---|---|---|
| Desktop / benchtop | Small and medium parts at a fixed workstation | Compact; manual bench loading | Will the machine, fixture and workpiece fit the available bench and vertical clearance? |
| Split type | Flexible fixtures, larger parts or custom workstation layout | Separate controller and marking structure | Does the extra layout freedom matter more than an integrated compact footprint? |
| Cabinet / floor-standing | Repeat factory work with a dedicated machine station | Larger integrated worktable | Do you need more worktable space, Z-axis range or industrial station integration? |
| Portable | Machine moves between work areas | Designed for relocation | Can the complete machine be moved, positioned and refocused repeatably at the work site? |
| Enclosed | Operator-facing batch work with a defined guarded work area | Door-loaded enclosed cell | What interlocks, viewing, extraction and complete-system safety controls are required? |
Reverse selection check
When a Desktop Laser Marking Machine Is Not the Best Fit
A desktop machine is useful because it is compact, but that same compact work envelope can become a limitation. Choose another machine structure when part handling, production flow, fixture size or the safety boundary matters more than a small integrated footprint.
Large, Heavy or Fixed Workpieces
If the part is difficult to bring to a bench station, a split or portable structure can provide more freedom around the workpiece and fixture.
Continuous Production Lines
If products move continuously on a conveyor and marking must happen without manual loading, an inline or flying-marking configuration is usually the more appropriate route.
Large Fixtures or Automated Loading
If the project requires a large nest, multi-axis motion, robot loading or other automation hardware, a cabinet or project-based machine structure may provide the required space and access.
Guarded Production as a Core Requirement
If interlocks, controlled access, viewing, extraction and a defined operator safety boundary are central to the machine decision, start with an enclosed system rather than adding guarding as an afterthought.
Selection rule: choose Desktop for compact fixed-station work; choose another structure when the workpiece, loading method, production flow or safety envelope no longer fits a compact bench-height workstation.
Order scope
Standard Delivery and Optional Desktop Configuration
The exact standard package is confirmed on the model quotation and packing list. Use this checklist to make sure the machine, accessories and site requirements are defined before the order is released.
Items to Confirm in the Standard Machine Package
- Complete desktop machine structure and marking head
- Laser source, galvo, F-theta lens and approved optical package
- Controller and computer arrangement where applicable
- Power and signal cables required by the confirmed configuration
- Marking software and controller software package
- Focusing aid and basic machine accessories
- Operation documentation, packing list and shipment configuration
Optional or Project-Specific Items
- Rotary axis, chuck or roller fixture
- Custom part fixture or positioning nest
- Fume extraction system
- Protective enclosure or additional guarding
- Vision camera, lens and lighting package
- Extended Z-axis or special worktable arrangement
- Alternative marking field / F-theta lens
- Alternative source brand or source subtype where supported
Before shipment: the final machine should be checked against the confirmed source, optics, software, accessories, destination voltage and sample requirement. If the order includes custom fixtures, rotary, vision or enclosure work, those items should be part of the same acceptance checklist.
Typical workstation use
Where Desktop Laser Marking Machines Fit Best
A desktop platform works best when parts can be brought to a fixed station and loaded within a repeatable work area. Material and marking result still determine whether Fiber, UV or CO2 is the correct source.
Metal Components
Serial numbers, logos, 2D codes and traceability marks on suitable metal parts commonly start with a Fiber desktop route.
Plastics & Electronics
Plastic housings, electronic parts and coated surfaces may require Fiber or UV depending on formulation, heat response and the target contrast.
Packaging & Non-Metals
Wood, paper, leather, cardboard and selected non-metal products may fit a CO2 desktop route when the material absorbs the wavelength effectively.
Cylindrical Parts
Rings, tubes, tools and round parts can use a desktop platform with a compatible rotary axis when part diameter, weight and fixture clearance are confirmed.
FAQ
Desktop Laser Marking Machine Questions
What is the difference between a desktop and split laser marking machine?
A desktop machine is designed as a compact integrated or closely packaged workstation for bench-height operation. A split machine has a separate controller or equipment arrangement that gives more layout freedom around fixtures and larger workpieces. Simply placing a split machine on a desk does not make it a desktop machine.
Can a desktop laser marking machine use Fiber, UV or CO2?
Yes, if the physical machine is designed as a desktop platform. The correct source still depends on the material, surface, desired mark, optics and sample result.
How much workbench space does a desktop laser marker need?
Use the actual model dimensions rather than a category estimate. Include the machine footprint plus operator access, cable clearance, service space and any external chiller or extraction equipment.
What determines the maximum workpiece height?
Usable height depends on column travel, focal distance, lens setup, fixture thickness, rotary position and the part geometry. The machine’s nominal Z-axis travel should not be treated as the same value as usable workpiece height.
Can I add a rotary axis to a desktop laser marking machine?
Often yes, but compatibility depends on worktable space, rotary height, part diameter and weight, controller support and whether the marking head can reach focus after the rotary is installed.
Is the computer and controller always integrated?
No. Some desktop platforms integrate the computer or controller into the machine body, while others use an external controller or PC. Confirm the actual arrangement on the model quotation.
What is included with a desktop laser marking machine?
The exact standard package depends on the model and quotation. Confirm the complete machine, source and optics, controller/computer arrangement, software, cables, focusing accessories, documentation and any optional fixture, rotary, enclosure or extractor before the order is released.
When should I choose an enclosed machine instead of an open desktop model?
Consider an enclosed route when operator access, interlocks, viewing, extraction and the complete safety boundary need to be part of the machine design. An enclosure by itself does not automatically establish a final laser safety classification.
Request a machine review
Send the Part, Workbench Space and Required Marking Result
For a useful desktop machine recommendation, send the part or drawing, material and surface condition, mark file, required marking area, largest workpiece size and height, available bench space, production quantity, target cycle, destination voltage and any rotary, fixture, enclosure or extraction requirement.