
Acrylic PMMA Laser Marking
Evaluate clear, translucent and colored acrylic / PMMA before selecting a laser marking machine. Acrylic can support surface engraving, frosted marks, reverse-side effects and selected internal visuals, but the result depends on cast or extruded material, color, thickness, coating, target appearance and the laser route tested on the real sample.
Request an Acrylic Sample Test Ask About CO2 / UV OptionsAcrylic PMMA Can Be Laser Marked for Surface, Reverse-Side and Selected Internal Effects
CO2 laser marking or engraving is a common first direction for acrylic because PMMA absorbs CO2 laser energy well and can form clean frosted or engraved effects. UV can be evaluated for fine, low-heat or special surface marks. Fiber or MOPA fiber should be treated as conditional, mainly where pigment, coating, additive or another surface layer can respond.
Clear acrylic needs viewing checks
A frosted or internal effect may look strong against one background and weak against another. Lighting, viewing angle and back-side access should be defined before approval.
Colored acrylic is not one material
Black, white, translucent, smoked, mirrored and pigmented sheets can absorb and show contrast differently. Treat color and sheet supplier as separate sample conditions.
PMMA is marked for appearance, information and identification
Signs, awards, display panels and electronic windows commonly need logos, text, symbols, graphics or traceability marks. The required content and viewing condition should be defined before the laser route is approved.
When PMMA Material Is Only Part of the Machine Decision
The acrylic response determines whether the required mark is practical, but the finished part can add another layer of machine-selection requirements. Separate the material question from the workpiece and production question so a good sample result can be translated into a workable system.
Start with the PMMA itself
Confirm cast or extruded acrylic, color, transparency, coating, thickness and the required front-side, reverse-side or selected internal effect. These conditions determine the material test and laser-route screening.
Then check the finished part
Large panels, curved surfaces, bonded areas, holes and restricted access can change focus control, fixture design, marking-field requirements and whether XY or 3D capability needs to be evaluated.
Finally check production conditions
Parts per hour, loading method, extraction, enclosure, variable data and automation requirements determine whether a standard marking station is enough or a more integrated configuration should be reviewed.
Which Acrylic / PMMA Material Are You Actually Marking?
The word acrylic is not enough for machine selection. Cast sheet, extruded sheet, tinted panels, black PMMA, mirrored acrylic, coated surfaces and printed acrylic can need different test routes and acceptance checks.
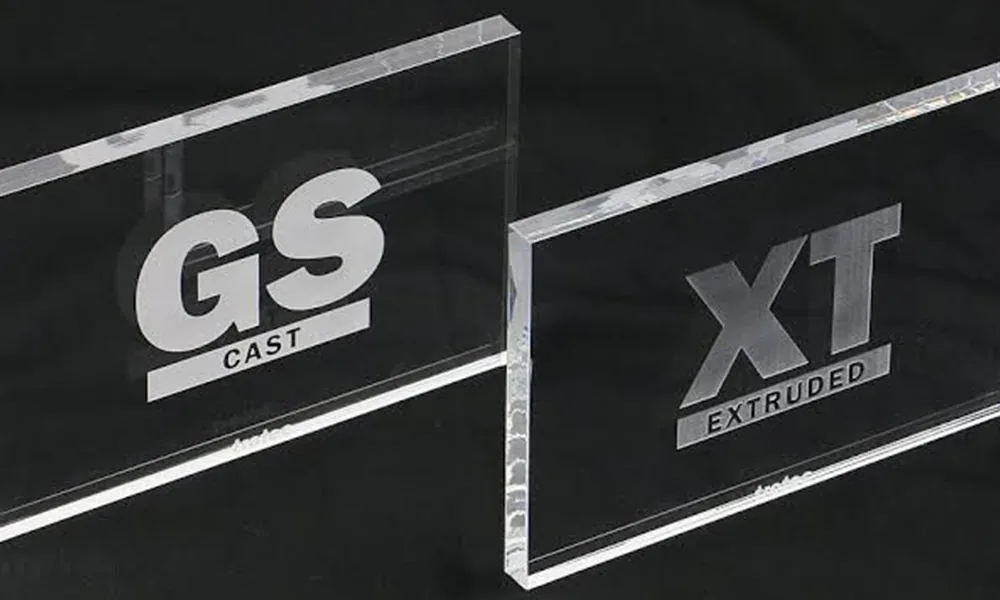
Cast acrylic
Often selected for high-quality engraving, signage, displays and decorative products. Validate frosted texture, edge clarity, depth, bubbles and whether the mark remains acceptable after cleaning.
Extruded acrylic
May engrave with a different appearance from cast acrylic and can behave differently under heat. Check transparent marks, melt behavior, edge quality and distortion on final parts.
Colored or tinted PMMA
Pigments, dyes and opacity change absorption and contrast. White, black, smoked, translucent and bright colored sheets should be tested separately.
Coated or printed acrylic
Laser may remove or modify the coating more than the PMMA. Treat painted, mirrored, laminated or printed panels as a complete surface stack.
Thickness and access affect internal-looking results
Reverse-side marking and internal visual effects depend on sheet thickness, focus position, allowable texture, back-side access and the final viewing condition. A thin clear coupon does not always represent a finished acrylic panel or assembled product.
Why Acrylic Products Need Laser Marking
PMMA is used where appearance, light transmission, visibility and a clean finished surface matter. The marking requirement usually comes from branding, operating information, identification or decorative graphics rather than from the material alone.
- Clear or backlit parts often need marks that remain readable from the final viewing side.
- Consumer-facing acrylic products usually prioritize cosmetic consistency and clean edges.
- Functional panels may need symbols, identifiers or data marks without damaging nearby transparent areas.
| PMMA product | Why it is marked | Typical content |
|---|---|---|
| Signs, displays and light-box panels | Branding, visual information, directional graphics or backlit presentation | Logos, lettering, icons, graphics and reverse-side artwork |
| Awards, gifts and consumer products | Personalization, branding and decorative finishing | Names, dates, logos, artwork and decorative patterns |
| Electronic windows, covers and control panels | Operating information, identification and interface graphics | Symbols, labels, serial IDs, indicator graphics and selected codes |
What Is Usually Marked on Acrylic / PMMA?
The artwork changes the practical test. A large decorative logo, a fine serial number and a machine-readable code place different demands on line width, contrast, scan strategy and inspection.
Logos and branding
Common on signs, awards, covers and display products. Check edge definition, uniform fill and appearance under the final lighting condition.
Text and operating symbols
Used on panels, interfaces and indicators. Small characters need enough contrast and line definition to remain readable after cleaning and assembly.
Serial numbers and identifiers
Used for part identity, batch control or service information. Confirm character size, permanence requirement and whether the mark is viewed through the acrylic.
QR codes and Data Matrix
Possible where the PMMA, mark contrast and code size support reliable reading. Validate the actual code with the intended scanner and viewing setup rather than judging it only by eye.
Decorative graphics and patterns
Typical for displays, trophies and customized products. Larger filled areas can increase heat input, haze or processing time, so appearance and cycle time should be checked together.
Back-side or coating-removal graphics
Useful when the front face should remain smooth or a painted, printed or mirrored layer must be selectively removed. Artwork orientation and layer selectivity must be tested on the real part.
Define the Acrylic Mark Effect Before Comparing Machine Wattage
Acrylic projects can ask for very different effects: shallow surface engraving, frosted white contrast, reverse-side marking visible through clear PMMA, coating removal, a dark mark on colored material, or selected internal-looking effects. Each target changes the practical laser route.
- Surface engraving needs edge quality, tactile feel and cleaning behavior checks.
- Reverse-side marks should be inspected from the final viewing side and background.
- Internal-looking effects require focus control and are highly geometry dependent.
- Colored acrylic requires color-specific samples because contrast can shift by pigment and thickness.
Reverse-side marking is not the same as internal / subsurface marking
Reverse-side marking processes the back surface of the acrylic and the result is viewed through the material from the front. A true internal or subsurface effect is formed below the surface and depends on a different optical interaction, focus position and material response. A laser route that works well for surface or back-side engraving should not automatically be assumed suitable for internal marking.
| Target effect | Where it may fit | Main PMMA risk | What to validate |
|---|---|---|---|
| Frosted surface mark | Clear acrylic panels, signs, labels, display elements | Excessive haze, roughness, residue or weak visibility on bright backgrounds | Viewing background, texture, cleaning behavior and mark uniformity |
| Shallow engraving | Nameplates, decorative panels, fixtures, sample tags | Melt edge, bubble formation, uneven depth or chipped-looking edges | Depth, line width, edge clarity and tactile acceptance |
| Reverse-side marking | Clear panels where the front face must stay smooth | Mirror orientation, focus error, back-side scratch visibility or poor contrast | Artwork orientation, final viewing side and assembled background |
| Coating or paint removal | Mirrored acrylic, painted acrylic, printed panels | Overburn into PMMA, residue, exposed edge discoloration or uneven layer removal | Layer selectivity, exposed color, residue and cleaning process |
| Internal or subsurface effect | Selected clear acrylic decorative or display pieces | Focus sensitivity, bubbles, scatter, cracking or low visibility | Focus depth, sheet thickness, optical clarity and inspection lighting |
How Thickness, Shape and Part Size Change the Acrylic Marking Process
A sample result is only transferable when the final part has similar thickness, geometry, access and working distance. These factors can change focus control, heat accumulation, fixture design and the machine working area required.
Flat acrylic sheets
Usually the simplest geometry. Confirm the marking area, front- or back-side access, positioning method and whether the full graphic fits inside one usable marking field.
Thick acrylic
Thickness affects viewing path, focus position, heat behavior and internal-effect feasibility. A thin coupon should not be used to approve a much thicker block or assembled display part.
Curved or molded PMMA
Height variation can move parts of the surface away from the best focus. Review fixture repeatability, usable depth of focus and whether 3D focus compensation is needed.
Large acrylic panels
When the graphic or workpiece exceeds one marking field, machine selection may depend on XY movement, stitching strategy, panel handling and repeatable repositioning rather than laser power alone.
Edges, holes and bonded areas deserve separate checks
Stress near drilled holes, cut edges, bends, adhesive joints or assembled features can increase the risk of visible cracking, distortion or inconsistent appearance. Include these features in the final sample whenever they are close to the marking area.
CO2 Is Often the First Acrylic Route, While UV and Fiber/MOPA Are Conditional Tests
Do not select an acrylic laser marking machine by wattage alone. The useful route follows PMMA absorption, target effect, surface layer, heat tolerance, mark size and whether the job needs a flat station, 3D focus, large-area movement or fixture support.
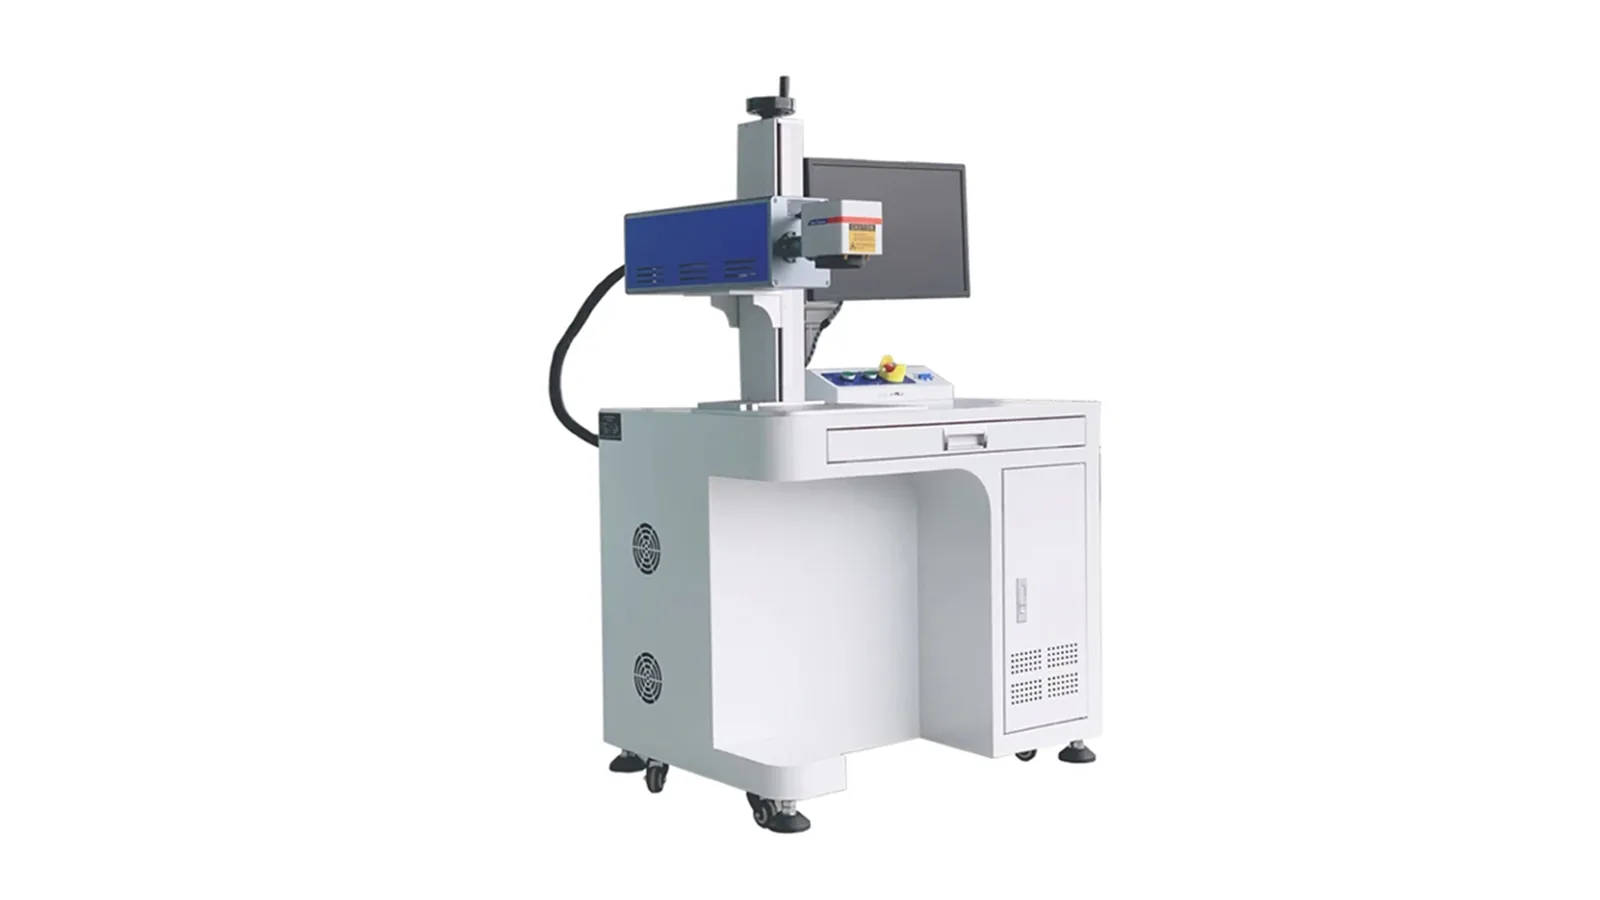
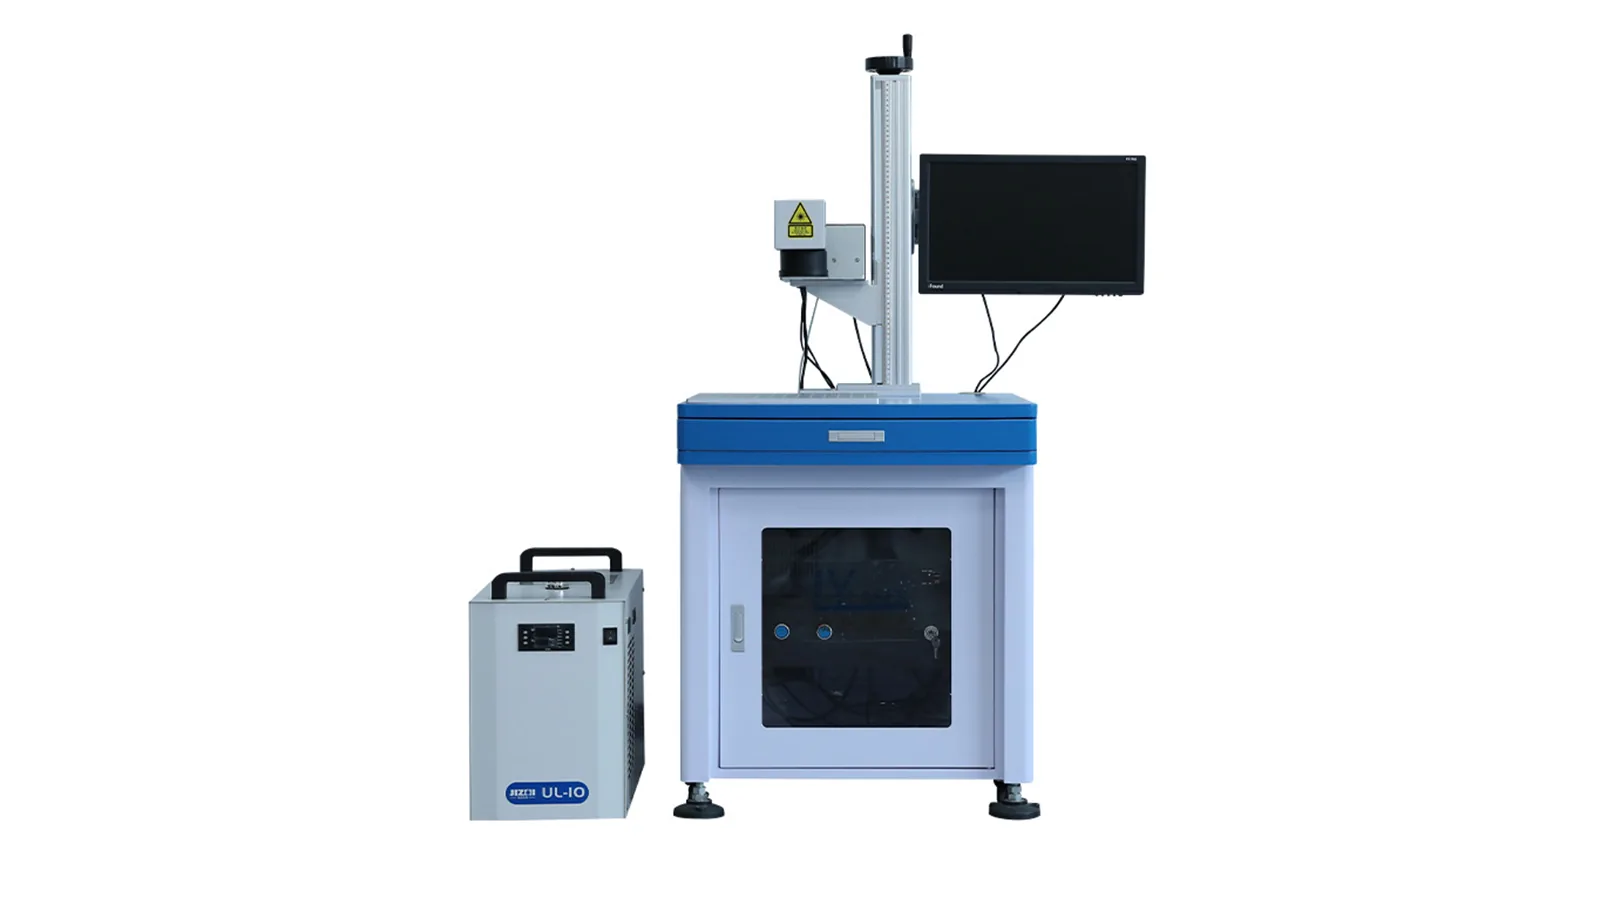
Zhuorui Laser can review acrylic samples and compare practical directions such as CO2 laser marking machines, UV laser marking machines, and selected fiber or MOPA fiber systems where coating, pigment or additive response supports testing.
| Laser route | Where it may be evaluated | Boundary |
|---|---|---|
| CO2 laser | Acrylic surface engraving, frosting, back-surface / reverse-side engraving and selected thick-sheet work | Heat input, melt edge, residue, smoke and detail size must be controlled. Do not treat back-surface engraving as proof of true internal / subsurface marking capability. |
| UV laser | Fine marks, low-heat surface marks, selected coated acrylic or special appearance requirements | Not every acrylic shows strong contrast; speed and depth may be limited. |
| Fiber or MOPA fiber | Selected colored, coated, filled or additive-assisted acrylic surfaces | Clear unmodified PMMA is not a default fiber marking target; test first. |
| Green laser | Special transparent-material trials when available equipment and sample response justify it | Use as a tested option only, not a general acrylic recommendation. |
The laser source is only the first machine decision
After a sample establishes the practical laser route, the machine still has to match mark size, workpiece dimensions, working area, focus requirements, fixture method, exhaust, safety configuration and the required production rate. These conditions are finalized after the sample result is accepted.
Control Haze, Melt, Bubbles, Cracking, Odor and Residue Before Production Approval
PMMA reacts strongly to heat and optical conditions. A mark that looks clean on one sample can fail on a thicker, colored, coated or assembled acrylic part.
- Check for melted edges, rough texture, excessive whitening or bubble formation.
- Inspect transparent acrylic from the final viewing side, background and lighting.
- Review stress areas, drilled holes, edges and bonded joints for cracking risk.
- Use local extraction and suitable filtration for acrylic fumes, coatings and residue.
- Control ignition risk with suitable enclosure, exhaust flow, operator supervision and flame-response procedures; do not leave acrylic CO2 processing unattended.
- Do not process unknown plastics or mixed acrylic/PVC materials without material review.
Acrylic PMMA Sample-Test Checklist Before Machine Selection
A useful PMMA test starts with the final material, final surface and final viewing requirement. Send the actual acrylic part or sheet whenever transparency, thickness, color, coating or internal effect matters.
| Sample input | What to provide | Why it matters |
|---|---|---|
| PMMA type | Cast acrylic, extruded acrylic, colored PMMA, clear sheet, smoked sheet, mirrored acrylic or coated panel | Different structures change engraving texture, contrast, heat response and source choice. |
| Thickness and geometry | Sheet thickness, flat or curved surface, final part size, edge condition, holes, bonded areas and fixture limits | Controls focus, heat accumulation, internal effect feasibility and cracking risk. |
| Surface stack | Bare PMMA, protective film, coating, paint, printed layer, mirror layer or laminate | Laser may interact with the surface layer more than the acrylic substrate. |
| Mark content | Logo, text, serial number, QR code, artwork, line width, filled areas and target position | Defines spot size, scan strategy, depth, readability and edge-quality requirements. |
| Target appearance | Frosted, clear engraved, white, dark, reverse-side, internal, coating-removal or low-tactile effect | Connects the material response to CO2, UV or another tested route. |
| Acceptance and production | Viewing background, lighting, cleaning test, rubbing, cycle target, batch size, extraction limits and final inspection method | Prevents approving a beautiful one-off mark that fails production or customer inspection. |
Use final acrylic samples for final approval
A generic clear acrylic sheet may not represent tinted PMMA, coated panels, mirror acrylic, printed acrylic, thick display blocks or a bonded product. Final approval should use the actual material stack and viewing condition.
When should you re-test?
Repeat sample validation when the PMMA supplier, cast/extruded type, color, transparency, thickness, coating or print layer changes; when artwork becomes much finer or larger; when the viewing condition changes; or when a higher production-rate target requires a materially different process window.
From an Approved PMMA Sample to the Machine You Actually Need
A successful sample proves that a marking route can produce the required appearance on the tested acrylic. It does not by itself define the final machine. The production configuration must also fit the real part size, marking field, loading method, extraction requirement, safety approach and throughput target.
Production approval should use total cycle time, not scan speed alone. Include loading, positioning, marking, inspection or data handling, and unloading when defining the target parts per hour.
| Confirmed job condition | Configuration impact | What to confirm before quotation |
|---|---|---|
| Required mark effect | CO2, UV or another tested laser route | Approved sample appearance and acceptable process window |
| Mark size and smallest detail | Lens / usable marking field and optical setup | Largest graphic, smallest text or code, and required line quality |
| Part dimensions | Worktable, enclosure size, Z clearance or XY travel | Maximum length, width, thickness and loading orientation |
| Flat, curved or height-varying surface | Fixture design, focus method and possible 3D compensation | Height variation and repeatable locating surfaces |
| Manual or repeated loading | Fixture, stops, nest, vision or other positioning support | Required positioning tolerance and changeover frequency |
| Fumes, odor or coating removal | Local exhaust and suitable filtration arrangement | Material stack, process residue and available extraction connection |
| Operator and process safety | Enclosure, access control and application-specific safety configuration | Workstation layout, operator access and site safety requirements |
| Target cycle time / parts per hour | Process window, loading method and possible production automation | Total cycle target including handling, marking and any inspection steps |
| Variable serial or code data | Software, data input and possible line integration | Data source, format, trigger method and verification requirement |
For a useful quotation, send both the sample requirement and the production requirement
Provide the final PMMA part or material specification, artwork, target effect, mark size and location, maximum workpiece dimensions, loading method, required parts per hour, batch size, extraction constraints, safety expectations and any variable-data or automation requirement. The quotation can then be based on an approved process direction instead of a generic wattage choice.
Why Your Actual PMMA Still Needs a Sample Test
The acrylic examples on this page illustrate possible marking directions, but they do not guarantee the same result on a different PMMA grade, color, thickness, coating or surface condition. Final process approval should use the actual material stack, artwork, viewing condition and production requirement for your part.
Acrylic PMMA Laser Marking FAQs
Can acrylic / PMMA be laser marked?
Yes. Acrylic / PMMA can be laser marked or engraved in many cases, especially with CO2 laser routes for surface and frosted effects. Final appearance depends on acrylic type, color, thickness, coating and target effect.
Is CO2 laser better for acrylic than fiber laser?
CO2 is often the first route for acrylic engraving because acrylic absorbs CO2 laser energy well. Fiber or MOPA fiber should be treated as conditional and tested mainly for selected colored, coated or additive-assisted acrylic surfaces.
Can transparent acrylic be marked internally?
Selected internal or subsurface-looking effects can be evaluated, but they depend on sheet thickness, focus control, optical clarity and final viewing conditions. Send the final clear acrylic part for testing.
Will laser marking acrylic create smoke or odor?
Yes, acrylic processing can create fumes, odor and residue depending on the process and surface stack. Use local extraction, review coatings or unknown plastics before repeated marking, and control ignition risk with proper supervision, enclosure and exhaust conditions.
What acrylic samples should I send?
Send the final acrylic sheet or part, including PMMA type, color, thickness, coating or printing, target mark effect, artwork, viewing background, cleaning or durability requirements and production target.
Send the Final PMMA Material, Target Effect and Viewing Condition
Include acrylic type, color, thickness, coating, mark artwork, front-side or reverse-side requirement, internal-effect target, viewing background, cosmetic limit, cleaning or durability test, maximum part size, target parts per hour, batch size and any fixture, extraction, data or machine-layout requirement. Zhuorui Laser can first narrow the practical laser route, then use the approved sample and production conditions to confirm the machine configuration.
Request a Quote OEM & Custom Inquiry Contact Us