
Stone and Slate Laser Marking
Stone and slate are not one uniform laser material. Mineral composition, grain, porosity, color, polish, sealers and natural variation can change ablation, whitening, edge integrity and dust behavior. Source selection starts with the exact sample and a defined surface result.
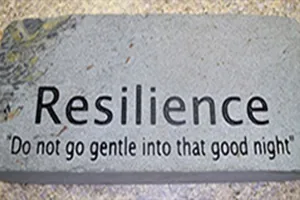
Can Stone or Slate Be Laser Marked?
Selected stone and slate surfaces can be evaluated for laser-created contrast, texture or shallow material removal, but a material name alone cannot confirm the source, appearance or production window.
A useful feasibility decision identifies the exact stone, separates the base mineral from any sealer or coating, defines the intended mark, controls debris, and compares cleaned samples against acceptance criteria.
Where Are Stone and Slate Products Used and Why Are They Marked?
Laser marking is usually selected when the finished stone surface needs durable identification, personalization or decorative information without applying a separate label. The exact requirement changes with the product, artwork size, viewing distance and whether the result is primarily visual or functional.
Common Stone and Slate Applications
- Slate coasters, placemats, gifts and personalized decorative products
- Memorial plaques, commemorative stones and name or date plates
- Architectural stone, tile, signage and decorative panels
- Stone identification pieces, asset labels or durable information panels where the substrate itself must carry the mark
What Is Usually Marked on Stone and Slate?
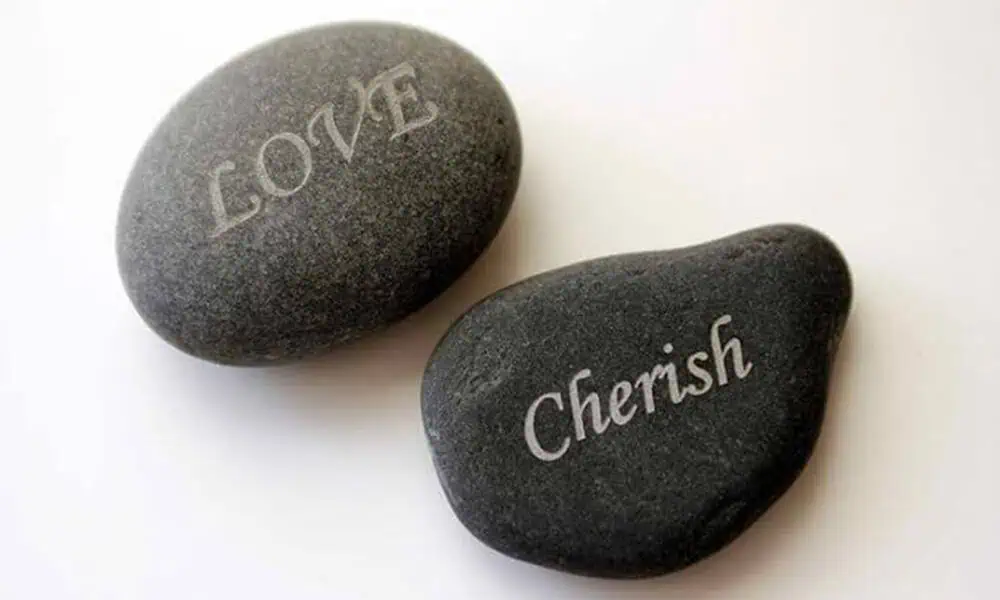
- Names, dates, text, lettering and memorial information
- Logos, symbols, decorative patterns and artwork
- Photographic or grayscale-style artwork when the tested material can reproduce the required tonal detail
- Serial, asset, QR or Data Matrix identification only when feature size, contrast and verification are proven on the real surface

What Determines Laser Marking Results on Stone and Slate?
A purchasing name may hide fillers, pigments, resin, sealers, polished faces or different mineral ratios. Record the construction that the beam actually reaches.
Color
Light and dark minerals can reveal contrast through different mechanisms; do not assume the same visual result.
Porosity
Open surfaces can retain particles and make the uncleaned mark look different from the accepted condition.
Grain
Layering, veins and cleavage can influence edge breakout and local response.
Finish
A polished face may expose cosmetic defects that are less visible on a rough or honed surface.
How Do Part Shape, Thickness and Size Change the Process?
The stone may be laser-responsive but still require a different machine layout because of its size, mass, flatness or height variation. Geometry affects focus control, fixture design, handling and the marking field before it affects the final quotation.
Flatness and Height
A flat tile or slate plate can usually reference one focus plane. Natural relief, uneven faces or curved pieces can move features out of focus and may require Z adjustment, refocusing or a dynamic-focus approach.
Thickness and Fragility
Thickness does not by itself define laser absorption, but it changes support, loading height and fixture design. Thin or brittle pieces may need gentler clamping and better support to avoid breakage during handling.
Overall Size and Marking Area
Record both the full part size and the actual artwork area. A small mark on a large slab can still require a larger work envelope, repositioning method or motion system even when the optical field is modest.
Weight and Loading
Heavy stone changes table load, fixture access and operator handling. The machine structure must allow the part to be loaded, positioned and supported without compromising focus or safe operation.
What Marking Result Should You Target on Stone and Slate?
Define the result before comparing laser routes. Stone marking may rely on contrast formation, surface texture, shallow material removal or selective removal of an added layer, and each target needs a different acceptance boundary.
Light / White Contrast
Often sought on darker stone when the processed surface becomes visibly lighter or more matte than the surrounding area.
Dark Contrast
Some surfaces or added layers can produce a darker visible change. This should be treated as a sample-dependent result, not a universal stone response.
Matte or Textured Surface
A controlled frosted or textured appearance can be useful when visual differentiation matters more than measurable depth.
Shallow Engraving
Use a depth target only when an actual recess is required. Edge breakout, roughness and local fracture become part of the acceptance criteria.
Layer Removal
On painted, sealed or coated stone, the intended result may be selective removal of the added layer rather than direct modification of the mineral surface.
Energy Reaches the Surface
Absorption depends on the exposed mineral or added layer, not only the product name.
Material Responds
Possible observations include shallow removal, whitening, darkening, melt-like binder change or micro-fracture.
Particles Leave the Processed Area
Dust and fragments can redeposit around the mark or remain in porous texture.
Cleaned Result Is Judged
Inspect contrast, edge integrity, texture, readability and variation against the acceptance method.
Which Laser Route Should Be Tested First?
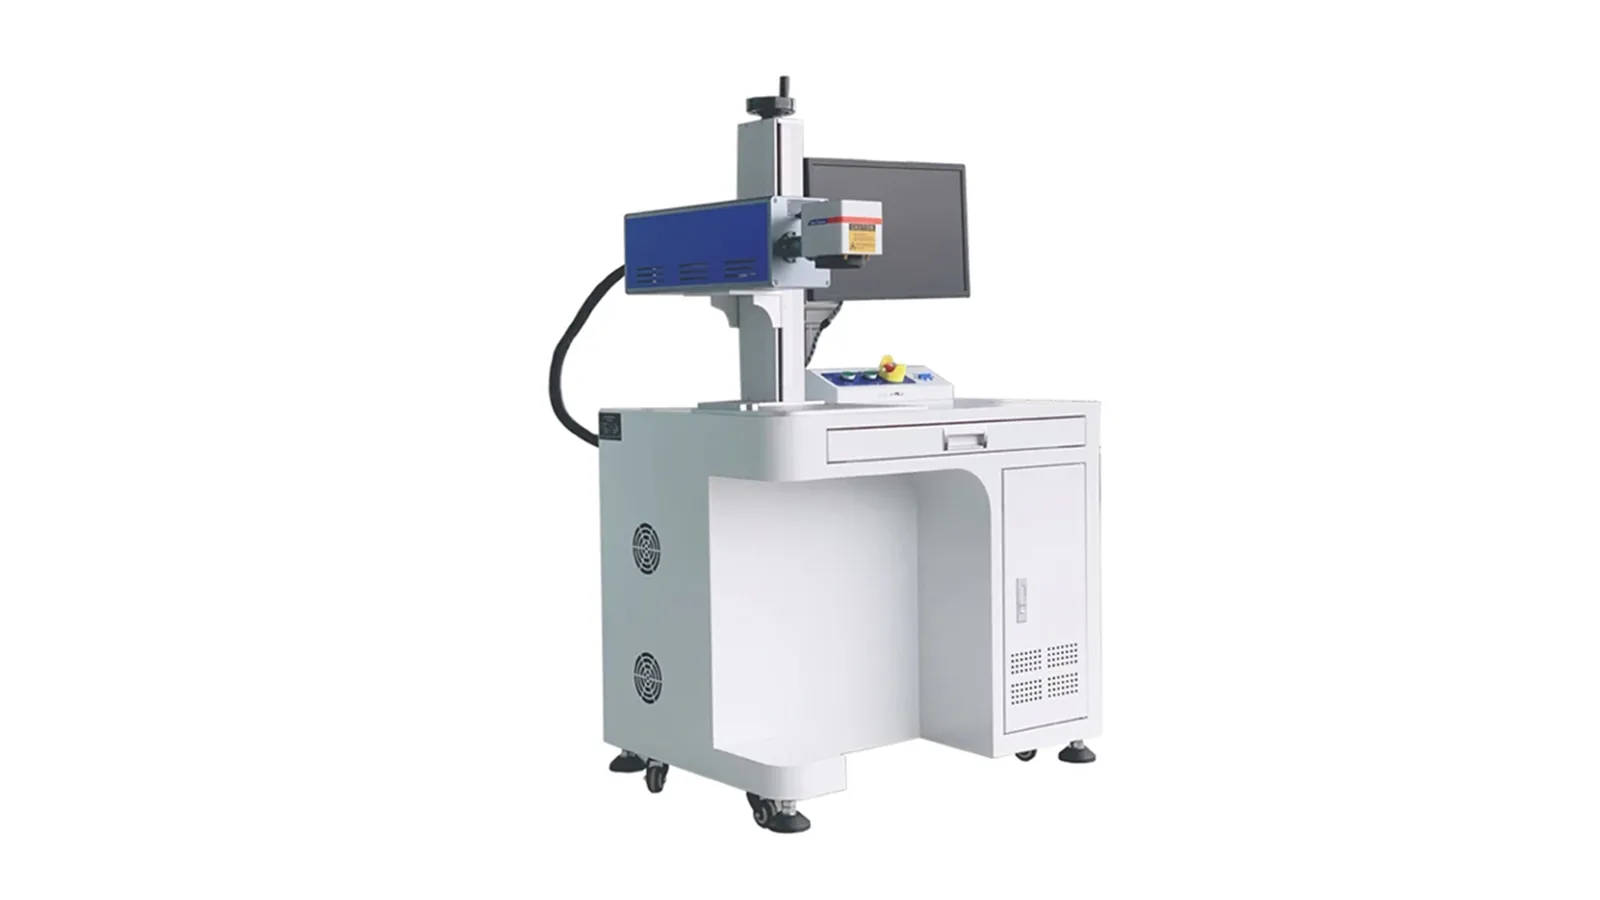
For untreated natural stone and slate, a CO2 route is usually the most practical first screening direction. UV, fiber/MOPA or another wavelength should enter the comparison only when the required feature, surface layer or actual sample response gives a specific reason to test it.
| Route | When to Test It | Main Limitation | What Must Be Proven |
|---|---|---|---|
| CO2 — first route for untreated stone/slate | Start here for many natural stone, slate and mineral-surface projects where the target is visible contrast, texture or shallow engraving. | Stone family, polish, porosity, cracking tendency, debris and feature size can still change the result substantially. | Cleaned contrast, edge integrity, acceptable texture and repeatability across representative areas or pieces. |
| UV — targeted comparison | Compare when the project needs finer features, a different interaction window or the CO2 result cannot meet the cosmetic requirement. | Lower thermal load does not automatically mean better contrast, zero fracture or acceptable production speed. | Feature quality, cosmetic condition and a stable process window on the actual surface. |
| Fiber / MOPA — not the default for untreated stone | Test only when a specific mineral response, pigment, coating, paint, resin or added surface layer provides a plausible reason. | Many untreated mineral surfaces respond weakly at common fiber wavelengths; MOPA adds pulse-control flexibility but does not change the fundamental wavelength. | A clear side-by-side advantage on the real sample rather than a source-label assumption. |
| Other wavelength — project-specific | Green or another source can be reviewed when sample behavior or an unusual surface construction justifies a separate route. | Optics, availability, process stability, enclosure and serviceability become part of the system decision. | Project-specific feasibility and a complete system review. |
What Are the Common Risks and Failure Modes?
The main failure modes are not limited to dust. Contrast can disappear after cleaning, natural layers can flake, fine detail can break down and excessive energy can damage the surrounding finish. Judge both mark quality and process safety on representative pieces.
Dust, Debris and Material-Safety Controls
Ablation or fracture can release mineral particles, fragments and material from sealers, paint, resin or fillers. The control plan must follow the actual material record and local risk assessment.
Approve a Cleaned Result, Not a Hero Photograph
The acceptance method should translate the visual request into checks that survive a different operator, stone area or production batch.
Contrast and Legibility
Define lighting, viewing distance, background variation and whether human reading or machine verification is required.
Feature and Edge Quality
Inspect minimum line, character edge, chipped areas, halo, micro-fracture and loss of polish around the mark.
Depth and Texture
If relief matters, define how depth or roughness is measured instead of using “engraved” as a complete specification.
Cleanliness
State the approved cleaning method and acceptable residual powder, redeposition, staining or trapped debris.
Variation Boundary
Test across representative color, grain, inclusion, finish and batch variation rather than one favorable area.
Use-Condition Durability
Where the end use requires it, verify abrasion, repeated cleaning and outdoor or weather exposure using an agreed method; initial contrast alone does not prove durability.
Production Transfer
Record fixture, focus reference, source configuration, parameter revision, extraction state and reject examples.
How Should a Stone or Slate Sample Be Tested and Evaluated?
A valid sample review connects material identity, process observations and an acceptance decision. It does not turn one attractive mark into a universal material claim.
Identify
Record stone family, finish, added layers, color, dimensions and sample ID.
Define
Specify mark content, visual target, feature size, cleaning method and reject conditions.
Compare
Screen candidate sources or parameter windows without changing multiple unknowns at once.
Clean
Remove loose residue using the approved method before judging the surface response.
Inspect
Check contrast, edge integrity, texture, debris and representative variation.
Transfer
Freeze the accepted sample, settings revision, fixture and control notes for production.
How Is the Final Laser Marking Machine Configuration Chosen?
The machine should be configured from the accepted sample result and the real part envelope, not from the word “stone” alone. The test establishes the optical route; the workpiece and production requirement determine the rest of the system.
Stone and Slate Laser Marking Questions
Can a laser marking machine mark natural stone?
Selected natural stone surfaces can be evaluated, but mineral composition, color, finish, porosity and natural variation can change the response. Approve the source and result only after cleaned sample testing.
Is slate easier to laser mark than other stone?
Slate can show useful surface change in some tests, but layering, cleavage, color and finish vary. Treat the exact slate as its own sample set rather than assuming a universal process window.
Which laser source should be tested first for stone?
For many untreated natural stone and slate projects, CO2 is the practical first screening route. UV, fiber/MOPA or another wavelength should be compared when the required feature, surface layer or sample response gives a specific reason to test it.
Does MOPA fiber automatically improve stone marking?
No. MOPA expands pulse-control options but does not change the fundamental fiber wavelength. If the surface couples weakly at that wavelength, wider pulse control alone does not prove feasibility.
Why must the mark be cleaned before approval?
Loose dust, soot and redeposited particles can create temporary contrast or hide edge damage. The cleaned and dried surface is a more reliable basis for acceptance.
What should be sent for a stone sample test?
Send representative pieces with the supplier designation, finish, added-layer information, dimensions, artwork, minimum feature, target appearance, cleaning limits and acceptance method. Include variation across color, grain or batches when relevant.
Send the Exact Stone, Artwork and Part Dimensions
Zhuorui can evaluate the sample, compare the appropriate laser route and configure a complete marking system around the accepted result, workpiece geometry and production requirement.
Include the stone or slate type, finish or coating, representative samples, part size and weight, marking area, artwork, target appearance, minimum feature and expected production requirement so the quotation can be tied to the actual project.