
Wood Laser Marking: Control Charring Across Grain and Species
A laser marking machine for wood should be selected from the actual species, density, resin, grain, moisture, adhesive system and finish—not from the word “wood” alone. CO₂ is a common starting direction, but the acceptable contrast, burn depth, edge quality, smoke load and cycle time must be confirmed on the production material.
Can wood be laser marked?
Yes—many woods and wood-based boards can produce readable contrast or a shallow engraved result. The qualification is important: visible color and depth come from controlled heating and material removal, so natural variation is part of the process rather than a defect that machine power alone can remove.
Dense, even-grained material usually gives a more uniform graphic than a board with knots, alternating hard and soft growth bands, resin pockets or inconsistent veneer. Plywood adhesive, MDF binder and surface coatings add another material layer. They can change smoke, odor, darkening and residue even when the top surface looks similar.
The practical question is not only “will it mark?” It is whether the final board can hold the required line detail, tone range and repeatability at an acceptable production rate while the smoke is captured safely.
What a useful wood comparison should document: these images show visible wood marking examples, but they are not a controlled side-by-side test. When documented production samples are available, compare species or board construction, finish or coating, target result, and the observed contrast, edge quality, residue and depth under identified test conditions.
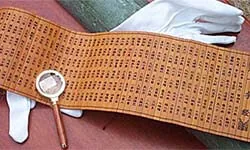
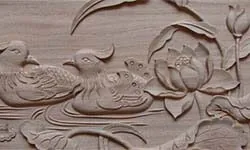

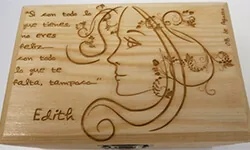
Separate wood types before comparing results
Names such as oak, pine, birch plywood or MDF are useful starting points, but the production board still needs its own test. Density, resin, growth pattern, glue line, fiber distribution and finish can change the response within the same broad family.
Hardwoods
Hardwoods can support fine detail, but open pores, mineral streaks and pronounced grain may make tone look uneven. Species name, cut direction and surface sanding should be recorded with the sample.
Decision: approve the graphic on both earlywood and latewood regions where the grain is visible.
Softwoods
Softwoods often show stronger differences between growth bands and may contain resin pockets. Increasing heat to darken a light band can over-burn a darker or resin-rich area.
Decision: define the acceptable natural variation before trying to force every band to the same tone.
Plywood and veneer
The face veneer may mark cleanly while glue lines, voids or thin face stock limit depth. A decorative veneer can also expose a different core if too much material is removed.
Decision: test the exact supplier, face thickness, adhesive system and finishing process.
MDF and fiberboard
Engineered boards are more uniform visually, yet binder formulation, density and surface treatment affect odor, residue and extraction demand. Manufacturer documentation and the board safety data should be reviewed.
Decision: validate emissions control and cleaning together with contrast.
Finished wood
Paint, stain, sealant, lacquer, laminate or oil means the first interaction may be with a finish rather than wood. The process can remove, discolor or thermally change that layer.
Decision: identify every coating and approve the result after the real post-mark cleaning step.
Common wood laser marking risks and failure modes
Wood contrast often comes from controlled carbonization and limited material removal, so the same heat that creates a useful mark can also create uneven tone, a scorch halo, widened lines, loose char, smoke or finish damage. Grain, resin, moisture, adhesives and coatings determine where those failures appear first.
Material structure
Density, resin, moisture, pores, fibers, glue and finish determine how energy is absorbed and conducted.
Energy per area
Power setting, speed, focus, hatch spacing, line spacing and pass count change dwell and accumulated heat.
Contrast and edge quality
Darkness, depth, line width, halo, residue and grain-to-grain variation must be judged together.
| Visible symptom | Possible material or process cause | First review direction |
|---|---|---|
| One graphic has light and dark bands | Alternating grain density, resin or moisture | Test across the grain and define an acceptable tonal range. |
| Edges look wide or fuzzy | Excess accumulated heat, defocus, smoke deposition or soft fibers | Review focus, speed, spacing, passes and extraction together. |
| Deep result but weak detail | Material removal is dominating fine-line control | Separate the depth target from the contrast target and retest. |
| Surface wipes dirty after marking | Loose char or condensed smoke | Add the real cleaning step to acceptance and improve capture at source. |
| Finish peels or changes color | Coating response differs from the substrate | Identify the finish and test removal or discoloration as a separate mechanism. |
Where is wood laser marking used—and why?
Wood is marked when a product needs durable visual identification, branding, customization or controlled decorative detail without adding ink, labels or a separate printing step. The exact requirement still depends on the product surface, handling and acceptance standard.
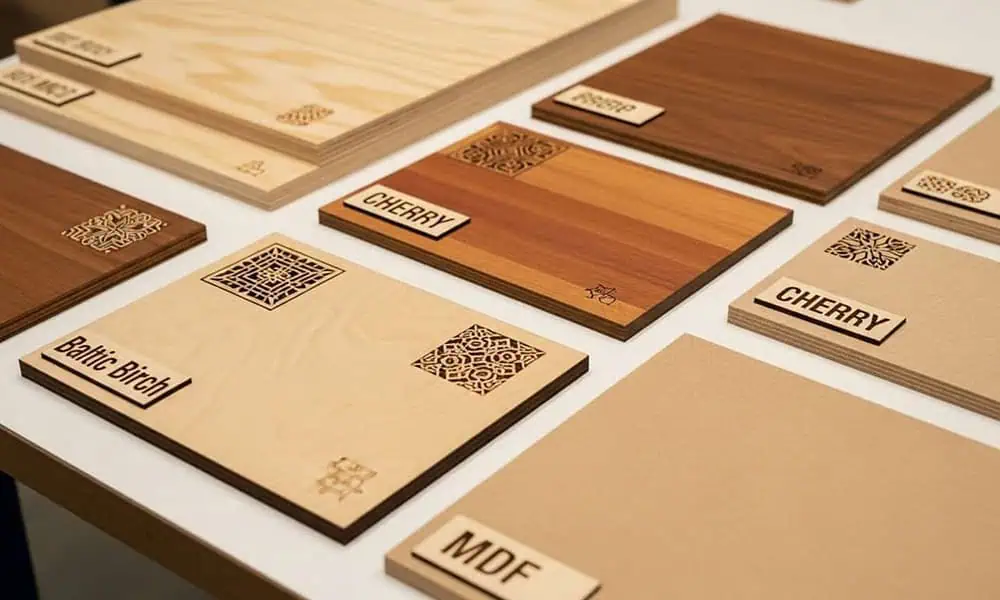
Furniture and interior components
Panels, cabinet parts, handles, trim and decorative pieces may need logos, part identification, alignment references or decorative graphics. The useful result is usually clean contrast with limited halo so the mark does not look like uncontrolled burning.
Wooden packaging and gift products
Boxes, cases, lids and presentation packaging are commonly marked for branding, product information or personalization. Surface finish matters because lacquer, stain, paint or oil may react before the wood itself.
Signs, plaques and display products
Text, symbols, logos and line art need readable edges across visible grain. Large marking areas also make field size, flatness and corner-to-corner consistency part of the test.
Crafts and production components
Personalized products and repeat production parts may require names, serial information, batch identification or graphics. The reason for marking determines whether appearance, code readability, repeatability or cycle time is the main acceptance criterion.
What is usually marked on wood?
The content itself changes the process requirement. A large logo can tolerate different line behavior from a small serial number or machine-readable code, so the artwork and smallest feature should be included in the sample test.
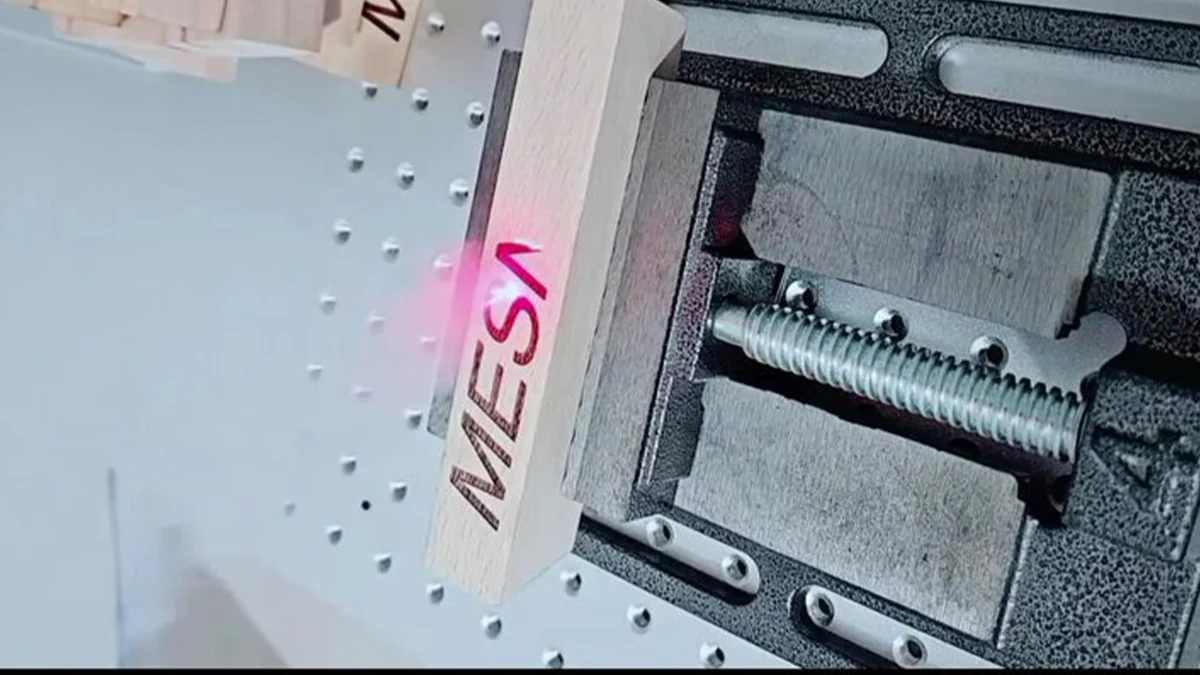
Logos and brand marks
Branding usually prioritizes visual contrast, clean edges and a controlled tone that looks intentional on the selected species and finish.
Text and product information
Names, specifications, instructions or product identifiers need stable character shape and sufficient contrast after cleaning and normal handling.
Serial, batch and part numbers
Variable identification requires repeatable positioning and legibility from part to part. Production data flow and loading method become important when the content changes for every piece.
QR or Data Matrix codes
Machine-readable codes can be evaluated where required, but grain, char spread, module size, surface variation and camera conditions can reduce readability. Approve them from actual scans on representative production material rather than visual appearance alone.
Decorative graphics and line art
Fine artwork, portraits and patterns emphasize small-feature control, edge sharpness and tonal consistency more than engraving depth.
What wood marking result do you actually need?
Do not choose the laser route from “wood” alone. First define whether the job needs surface contrast, fine detail, measurable material removal or a controlled change to a coating. Each target creates a different balance between heat, line quality, depth, residue and cycle time.
| Desired result | What good looks like | Main trade-off | What to verify on the sample |
|---|---|---|---|
| Dark surface contrast | Intentional brown-to-dark contrast with readable edges and controlled natural variation. | More accumulated heat can darken the mark but also widen the halo, increase residue and reduce fine detail. | Tonal range, smallest feature, edge width, wipe-off residue and consistency across grain zones. |
| Fine text or graphics | Clean small features, narrow lines and recognizable detail without excessive burn spread. | Settings that maximize darkness or depth can make fine features merge or soften. | Smallest text/line, edge definition, spacing between features and appearance after cleaning. |
| Shallow engraving | Controlled material removal with acceptable depth and edge quality. | Increasing removal can sacrifice detail, increase smoke and expose a different layer in veneer or plywood. | Depth range, edge quality, face-layer integrity, residue and repeatability. |
| Finish removal or color change | The coating changes or is removed as intended while the underlying wood remains within the visual limit. | The coating may peel, discolor unpredictably or create a different smoke/residue profile from raw wood. | Coating identity, substrate condition, cleaning result, edge quality and extraction requirement. |
How do shape, thickness and size change the marking plan?
Geometry does not change the wood species, but it changes focus control, field coverage, handling, fixture design and the risk of marking into an unintended layer. These inputs should be defined before the machine configuration is fixed.
Flat boards and panels
Flat parts are the simplest starting condition because the marking surface can stay near one focus plane. Large panels still require a positioning strategy and a marking field that can cover the artwork without sacrificing the required detail.
Check: usable marking area, part locating method, field-corner quality and repeat loading.
Thin veneer and plywood face layers
For shallow engraving, total board thickness is not the only limit. The face veneer or decorative layer may be much thinner than the complete panel, so excessive removal can expose glue or core material.
Check: face-layer thickness, acceptable depth and whether the substrate remains visually acceptable.
Warped or uneven surfaces
Height variation moves parts of the surface away from the intended focus and can change line width, contrast or engraving depth across the same graphic.
Check: actual height variation, fixture support and whether the full mark remains inside the acceptable focus range.
Large parts or large marking fields
A larger field changes the optical and positioning requirements. The final field should be validated for detail and consistency across the useful area rather than selected only because the artwork fits inside it.
Check: maximum mark size, smallest feature, corner-to-corner result, loading clearance and cycle expectation.
Cylindrical or irregular wooden parts
Curved handles, turned parts or irregular crafts may need dedicated support, rotary motion or another project-specific positioning method. The correct route depends on how much of the surface must stay in focus during marking.
Check: diameter/height range, mark location, orientation, repeat positioning and fixture access.
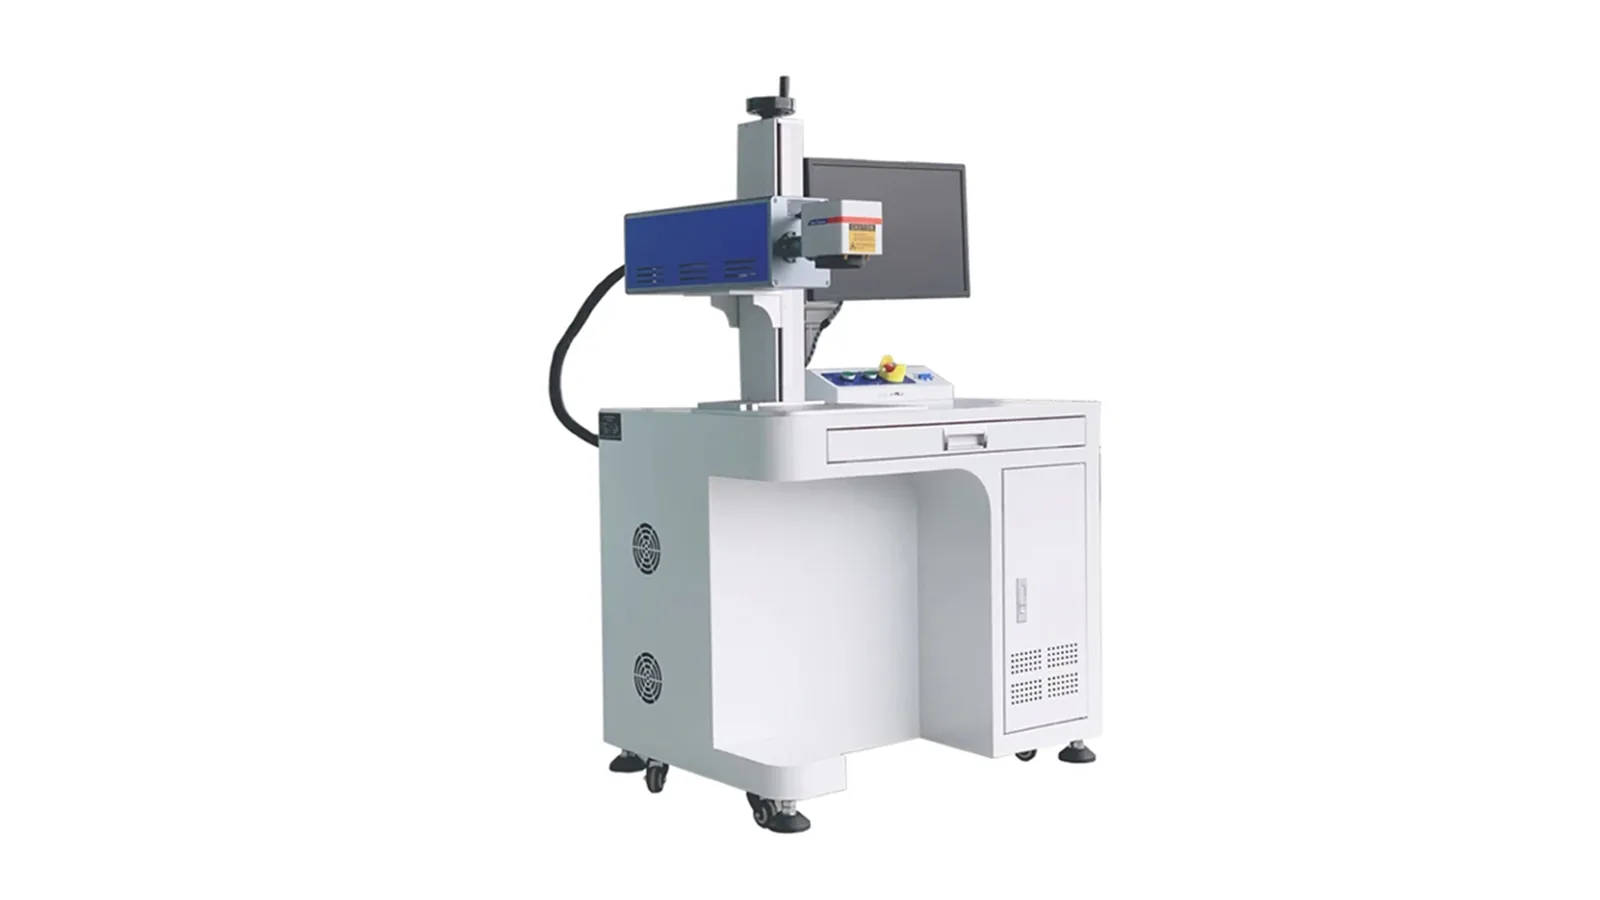
CO₂ is the usual first technology to evaluate for wood
Wood commonly absorbs CO₂ laser energy well enough for surface darkening and shallow engraving, which makes CO₂ a practical first test direction for many wood marking jobs. The sample still decides whether the route meets the required contrast, detail, depth and production rate on the actual species, board construction and finish.
Do not choose the machine by wattage alone. Source design, actual wavelength, beam delivery, focus, marking field, pass strategy, duty cycle, enclosure and extraction all affect the usable process window. A configuration that produces a dark sample slowly may not be the configuration that best meets production throughput.
Use the result target to define the first test, then use the test to narrow the machine. If the CO₂ trial cannot meet the acceptance criteria without unacceptable charring, coating damage, detail loss or cycle time, return to material/process review before committing to a machine configuration. After the route is validated, compare available CO₂ laser marking machine configurations against the required field, handling and safety needs.
Extraction, fire control and laser safeguarding belong in the review
Smoke capture affects visibility, optics cleanliness, odor, residue and the working environment. The extraction design and laser safety configuration should be reviewed with the material, machine form and production rate—not added after the sample looks acceptable.
Identify what is being heated
Record the species or board, adhesive, stain, paint, sealant, laminate and cleaning agent. Unknown coatings and engineered-board binders should not be treated as ordinary raw wood. Review supplier documentation and applicable safety data.
Capture smoke close to the mark
Airflow, hood position and filtration must suit the field size and smoke volume without disturbing the process. Poor capture can redeposit residue and make a parameter test look less consistent than it is.
Include fire and housekeeping controls
Wood is combustible. The operating procedure should address active observation, smoldering material, accumulated dust or residue, extraction maintenance and safe handling after the laser stops. The final safety design depends on the complete machine and workplace risk assessment.
Validate at production duty
A short sample may not represent odor, filter loading or residue during a long batch. Repeat the test at a realistic duty cycle and include cleaning and filter checks in the review.
Confirm laser safeguarding and stop functions
CO₂ processing radiation is normally invisible. Confirm the completed system’s laser classification and accessible emission, enclosure or guarded area, door interlocks, emergency stop, safety circuit, viewing provisions, fixture posture and safe access during loading and maintenance. A product image is not a safety approval; controls and personal protective equipment must follow the actual risk assessment and applicable local requirements.
Use the real production material to confirm the result
The fastest useful test begins with production material and a measurable acceptance target. A photograph alone cannot reveal board formulation, finish or the natural range that the mark must tolerate. The test should show what is acceptable, what fails and how much normal material variation the process can tolerate.
Material identity
Species, solid/plywood/MDF, supplier, thickness, veneer, adhesive, moisture condition and finish.
Mark requirement
Artwork or code, smallest feature, field size, preferred tone, depth, touch and allowed scorch halo.
Variation set
Samples that include grain changes, knots, resin areas and normal batches—not only the easiest piece.
Production context
Part size, flatness, loading method, quantity, target cycle, cleaning, extraction and inspection method.
Acceptance check
Agree how contrast, line width, depth, residue, odor, readability and repeatability will be judged.
First-test output
Record the sample identity, evaluated route, relative working window, visible defects, cleaning result, cycle observation and extraction notes. A first test is not a production guarantee.
How to finalize the machine configuration for a wood marking job
A successful sample narrows the process window; it does not finish machine selection. The final quotation should connect the accepted mark to field size, part handling, extraction, safety configuration and realistic production duty.
Laser and process direction
Use the accepted sample to confirm the source route and working window. Do not substitute a higher nominal wattage for a failed process result.
Marking field and optics
Specify the largest required graphic together with the smallest feature. Confirm usable detail and consistency across the intended field, not only at the center.
Machine structure and part clearance
Match the workstation, Z-height, access and enclosure concept to the real part dimensions, loading method and operator workflow.
Fixture and positioning
Define how each part is located, supported and repeated. Warped, curved or irregular pieces may require dedicated fixtures or motion rather than a flat-table assumption.
Extraction and safety
Size smoke capture and filtration for the actual material and duty cycle, then confirm the completed system’s safeguarding, interlocks, emergency stop and operating access from the real risk assessment.
Production and data requirements
Provide batch size, target cycle, variable-data needs, code inspection requirements and any upstream/downstream handling that changes the machine configuration.
What to send before requesting the final quote
Send enough information to reproduce the real job rather than only naming the material. This reduces the risk of quoting a machine that fits the word “wood” but not the actual part or acceptance target.
Wood laser marking FAQ
These answers define a safe starting direction. Final tone, depth, speed and extraction still depend on the actual board and finish.
Which wood gives the most consistent laser mark?
Uniform, fine-grained and stable material generally gives more even detail, but species name alone is not enough. Supplier, cut, density, moisture and finish can change the result, so the production batch should be sampled.
Why does one area mark darker than another?
Growth bands, resin, knots, moisture and surface preparation can change absorption and heat flow. Before increasing power, compare the light and dark zones and decide whether the variation is natural and acceptable.
Can laser marking avoid all charring?
Not when the desired contrast relies on thermal darkening. Settings can limit halo and loose char, but a claim of zero thermal effect would be unrealistic for typical wood darkening or engraving.
Is plywood marked the same way as solid wood?
No. Face veneer, adhesive, voids and core layers introduce variables that solid wood does not have. Test the exact plywood construction and avoid approving depth that could expose the core.
Do I choose the machine by wattage?
No. Material, desired result, field size, focus, source design, speed, passes, extraction and duty cycle all matter. Wattage is one configuration input, not the selection method.
What should be checked after marking?
Review visible contrast, smallest feature, depth, edge halo, loose residue, cleaning result, odor, repeatability and any code readability requirement. Use the same criteria on normal batch variation.
Technical references
U.S. Occupational Safety and Health Administration — Wood Dust: Overview supports the need to control airborne wood particles and review workplace exposure. OSHA — Laser Hazards: Overview supports the need to address beam and non-beam hazards. Neither source replaces a material-specific assessment of laser smoke, coatings, binders, the completed machine or local requirements.
Send the real wood, finish and acceptance target
Zhuorui Laser can use those inputs to define a first-test direction, compare the result against your acceptance criteria and then narrow the marking field, fixture, extraction, safety and machine configuration for quotation. Final production approval still requires the actual machine, representative material and realistic duty cycle.