
Laser Marking for Leather Goods
A leather-goods marking project is defined by the product, the exact leather or surface construction, the mark that must be created, the accepted appearance, the way the part is positioned and the production volume. Sample testing should confirm both the process window and the machine features needed for repeatable production.
- Product and marking area
- Leather construction and finish
- Target appearance and durability
- Loading, positioning and production volume
Which Leather Goods Commonly Use Laser Marking?
Start with the actual product rather than the word “leather.” A flat patch, a long belt and a finished handbag create different access, focus, fixture and production requirements even when the artwork is similar.
Bags, cases and panels
Handbags, tote bags, cases, flap panels and other leather sections where logos, graphics or identifiers may be marked before or after assembly.
Wallets and card holders
Compact finished goods with small cosmetic marking areas, folds, pockets, seams and tight positioning tolerances.
Belts and straps
Long narrow parts that may require repeated marks, controlled edge distance, straight support and indexed or manual repositioning.
Tags, patches and labels
Flat or lightly textured components that are often easier to fixture before they are stitched or attached to the finished product.
Small leather accessories
Key cases, covers, holders and similar products where the usable marking zone may be limited by edges, folds, hardware or decorative features.
Finished personalized goods
Completed products marked with names, initials or order-specific artwork, where access, product protection and variable-data control become part of the process.
Why Are Leather Goods Marked?
The marking purpose determines what must be visible, how consistent it must be, whether every piece is identical or variable, and which downstream checks matter.
Branding
Apply logos, collection graphics and brand elements directly to a product, patch or panel without adding a separate printed label.
Personalization
Add names, initials, short messages or order-specific artwork for small batches and one-off products where file-to-product matching matters.
Product identification
Add model references, size information, batch identifiers or internal codes when the mark must remain readable and visually acceptable.
Decorative differentiation
Create controlled graphics and surface patterns where the visual result is part of the product design rather than only an identification mark.
What Is Usually Marked on Leather Goods?
Separate the information or artwork being marked from the surface effect used to create it. The same logo can require a different process when the leather construction, finish or desired appearance changes.
Fixed artwork
Brand logos, collection graphics, decorative motifs, border patterns and other designs that remain the same across a batch.
Variable personalization
Names, initials, short text and order-specific graphics linked to an individual product or customer record.
Product information
Model, size, batch, date or internal reference information where the leather surface provides enough contrast and feature definition.
Position-specific marks
Artwork placed relative to a seam, edge, buckle, pocket, fold, cut outline or other product feature that becomes the fixture or vision reference.
Representative Leather Marking Examples
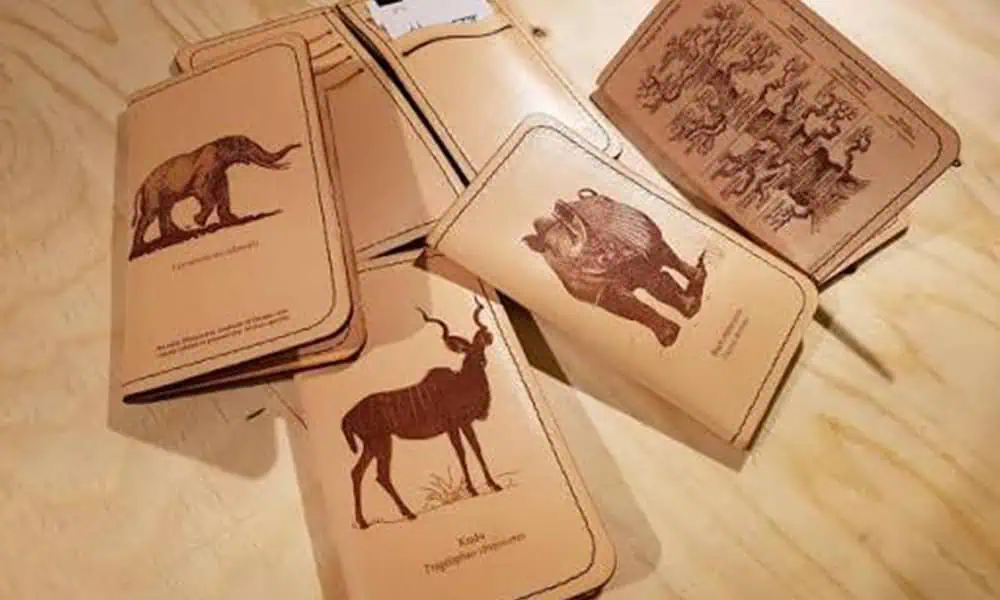
This sample image helps show the kinds of graphic contrast, filled areas and fine decorative detail that should be defined before process testing. It is a visual reference, not a universal parameter or production-result claim.
What Determines the Laser Marking Result on Leather Goods?
Material name alone is not enough. Result quality is controlled by the leather or synthetic stack, surface finish, artwork, geometry, target effect and production conditions working together.
| Variable | Why it changes the result | What to record |
|---|---|---|
| Leather or synthetic construction | Natural leather, coated leather and synthetic stacks absorb and react to laser energy differently. | Supplier, grade, base material, top layer, backing and any known additives. |
| Colour, dye and surface finish | Pigment, topcoat, gloss, texture and lot variation can change contrast, edge appearance and residue. | Colour/SKU, finish, texture, batch and any coating or treatment information. |
| Target effect | Tone change, visible contrast, shallow engraving or controlled finish interaction require different process windows. | Approved sample, target colour, acceptable depth, hand feel and surface appearance. |
| Artwork | Small text, thin lines, large filled areas and dense graphics respond differently to energy density and scan strategy. | Vector file, mark size, smallest feature, filled area and required orientation. |
| Geometry and focus | Curvature, folds, seams, height variation and unsupported surfaces can change focus, position and local heat response. | Usable marking zone, height range, datum, seam/edge clearance and support condition. |
| Production requirement | Volume, SKU mix, personalization and changeover frequency determine whether a manual setup is enough or a more controlled workstation is needed. | Quantity, takt/cycle expectation, SKU mix, changeover pattern and loading method. |
For material-specific behaviour, use the Leather Laser Marking guide together with representative sample testing. The application decision still depends on the finished product, fixture and production requirement.
What Should the Finished Mark Look Like?
Define the result before tuning the laser. A “good mark” is not only visible; it must also meet the product’s appearance, position, surface and durability requirements without introducing unacceptable damage.
Visual and surface result
- Required contrast or tone change.
- Clean edge definition at the smallest feature.
- Acceptable gloss, texture and hand feel.
- Controlled depth or finish interaction where required.
- No unacceptable scorch, halo, melting, cracking or residue.
Position, durability and consistency
- Artwork position and orientation remain within the product tolerance.
- Repeated pieces show an acceptable appearance range.
- Flex, rub, cleaning, sweat/contact or weathering checks match the real product requirement.
- Personalized text or identifiers remain readable and correctly matched to the product.
- Lot-to-lot differences are identified before production release.
How Do Product Geometry and Loading Affect Leather Goods Marking?
The same artwork can require a different fixture, focus strategy and production stage when it moves from a flat cut panel to a long belt or a finished bag.
| Leather good | Typical marking area | Main constraint | What must be reviewed |
|---|---|---|---|
| Bag panels and patches | Flat or lightly textured areas before assembly | Artwork registration, grain variation and batch consistency | Panel datum, nest design, lot variation and whether marking occurs before stitching. |
| Belts and straps | Long narrow surfaces, repeated positions or end zones | Straightness, feed support, repeat spacing and edge distance | Part length, mark pitch, usable flat zone, buckle interference and manual versus indexed loading. |
| Wallets and card holders | Small cosmetic areas near folds, seams or pockets | Fine alignment and avoiding deformation | Open/closed condition, seam clearance, backing support, smallest feature and acceptable tone change. |
| Finished bags and cases | Curved, recessed or assembled surfaces | Focus variation, collision risk and difficult clamping | Access envelope, product support, height variation, camera need and whether the mark should move earlier in production. |
| Metal buckles and hardware | Separate metal component | Different substrate and laser route | Evaluate as a metal-marking task; do not assume the leather configuration marks the hardware. |
When Should the Mark Be Applied Before Assembly?
A flat panel is usually easier to support and position than a finished bag. Choose the marking stage from final alignment, downstream operations and product quality—not from machine convenience alone.
Before cutting or sewing
Useful when artwork can be registered to a stable sheet or panel and later operations will not distort, cover or damage the mark.
After panel cutting
Useful when the cut outline provides a repeatable fixture datum and each panel can be nested consistently before assembly.
After final assembly
Useful for final personalization or coding, but curvature, seams, hardware, focus range and collision clearance must be included in the system review.
Practical decision: if the finished product makes focus, access or clamping unstable, compare the final-product route with an earlier flat-panel operation before adding complexity to the machine.
Which Laser Should Be Tested First?
First screen the material for safe laser compatibility. Then compare the laser route against the target effect, smallest feature, heat sensitivity and actual product geometry.
Material safety screening comes first. Do not use a laser to “identify” an unknown synthetic leather or coating. Do not laser-process PVC/vinyl, chlorine-containing or other halogen-containing layers, or leather/artificial leather known to contain chromium(VI). If composition is uncertain, stop and obtain supplier documentation and safety information before testing.
| First-test route | Where it may fit | Why it is evaluated | What the sample must prove |
|---|---|---|---|
| CO₂ laser marking machine | Many genuine leather surfaces and selected confirmed laser-compatible non-chlorinated synthetic or coated constructions | Common starting route for visible tone change, surface interaction and shallow engraving on many organic products. | Required contrast, edge quality, acceptable thermal effect, residue/odour level and repeatability across representative samples. |
| UV laser marking machine | Selected compatible coatings or heat-sensitive synthetic layers where fine detail or reduced thermal footprint is a priority | Useful as a comparison route when CO₂ creates too much local heat effect or the required feature is especially fine. | Whether detail, surface condition and cycle time are genuinely better on the actual construction. |
| Fiber laser marking machine | Metal buckles, plaques, clasps or separate hardware | The hardware is a different substrate and normally requires a metal-oriented test route. | Required metal contrast/depth and whether a separate station or process step is needed. |
What to compare during the first test
- Contrast or tone at the required artwork size.
- Smallest text, line and filled-area edge quality.
- Scorch, gloss change, melting, halo, residue and hand feel.
- Focus tolerance on the real marking area.
- Repeatability across the actual colour, finish and lot range.
- Cycle time only after the quality window is stable.
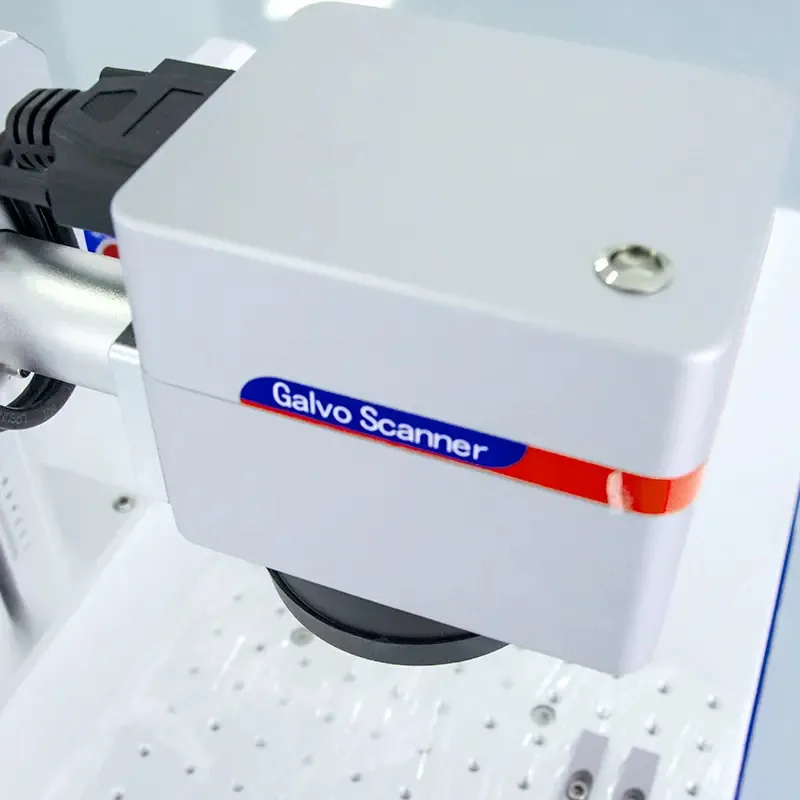
Testing comes before final configuration. Source, optics, work area, enclosure, extraction and fixture should be selected from the qualified sample and production requirement.
What Commonly Goes Wrong When Laser Marking Leather Goods?
A failed result is useful only when it leads to a specific check. Separate material variation, thermal response, focus and positioning problems before changing multiple laser settings at once.
| Observed problem | Likely variables | What to check next |
|---|---|---|
| Weak or uneven contrast | Finish, dye, colour/lot variation, insufficient or inconsistent energy density, focus variation | Compare the same artwork on documented samples from the affected lot before changing the production route. |
| Heavy scorch, brittle edge or excessive residue | Too much thermal input, slow scan, repeated passes, surface chemistry, poor extraction | Reduce thermal load systematically and confirm that the material is suitable for laser processing. |
| Unwanted melting or glossy ridge | Heat-sensitive synthetic top layer or coating, excessive local energy | Confirm composition, stop if the material is unsafe, then compare a lower-thermal-load process window or alternate compatible route. |
| Halo or finish change outside the artwork | Coating response, large filled areas, heat spreading, repeated exposure | Review artwork fill, scan strategy and energy density while keeping material and focus fixed. |
| Mark position changes between parts | Weak datum, flexible part support, inconsistent loading, seam or edge variation | Improve fixture stops/nests or use vision only when the real placement variation justifies it. |
| Good flat sample but poor finished-product result | Curvature, height variation, collision clearance, unstable support | Compare a better fixture/focus strategy with moving the mark to an earlier flat-panel production stage. |
| One colour or lot works, another does not | Dye, finish, coating thickness or supplier variation | Qualify representative worst-case colours/lots and store separate approved process windows when necessary. |
What Must Be Controlled Before Leather Goods Marking Enters Production?
Before a candidate process is released to production, define how the material/SKU, job file, part position, first-off check, batch inspection and changeover will remain linked. The sample-qualification section below provides the release gate for that workflow.
1. Verify material and SKU
Confirm product, colour, finish, lot and any approved material-specific process window before loading the job.
2. Load the correct artwork or data
Separate fixed graphics from variable names, serials or order data and match the record to the correct product.
3. Position and focus the part
Use the approved nest, stop, datum, height setting or vision routine so the real marking area returns to the qualified condition.
4. Approve the first-off piece
Check position, appearance and readability before releasing the batch, especially after SKU, artwork or fixture changeover.
5. Control the batch
Inspect at the frequency required by the product risk, monitor lot/colour variation and separate rejects or pieces needing review.
6. Record changeover conditions
Keep the approved job, fixture, focus reference and process window tied to the SKU so the next run does not restart from trial-and-error.
How Should Representative Leather Goods Samples Be Qualified?
The objective is not to produce one attractive sample. It is to confirm a repeatable process window on representative material, then prove that the result meets the product’s visual, positional and durability requirements.
Inputs for a useful test
- Product: bag, belt, wallet, tag, patch or assembled accessory.
- Material: genuine or synthetic construction, supplier, grade, colour, finish and batch.
- Safety information: SDS plus supplier confirmation when synthetic, coated or uncertain layers are involved.
- Artwork: vector file, mark size, smallest feature, position and orientation tolerance.
- Geometry: flat/curved area, seams, folds, edge distance, hardware and available fixture datum.
- Target result: contrast/tone, acceptable depth, hand feel, gloss and unacceptable scorch/halo/residue.
- Durability: flex, rub, cleaning, sweat/contact, solvent or weathering method relevant to the product.
- Production: quantity, SKU mix, personalization data, cycle expectation and loading method.
1. Confirm material safety
Identify the construction and exclude unsafe PVC/chlorinated, halogen-containing or chromium(VI)-containing materials before laser exposure.
2. Select representative samples
Include the actual colour, finish, lot and geometry range—including difficult or worst-case SKUs when they matter.
3. Screen the process window
Hold material, artwork and setup constant while changing controlled laser variables to find a stable quality region.
4. Check appearance and position
Inspect contrast, edge definition, gloss/texture, residue, deformation, position and the smallest required feature.
5. Perform required durability checks
Apply the customer’s real flex, rub, cleaning, sweat/contact or other product-specific acceptance method.
6. Repeat and document
Confirm the result across representative pieces, record the approved window and only then release the configuration for production.
How Do Test Results Determine the Final Machine Configuration?
The sample test should convert product requirements into machine decisions. The final system is selected from the qualified process window, workpiece envelope, positioning tolerance, extraction load and production method—not from the word “leather” alone.
| What the test or product shows | What it changes in the machine | Why |
|---|---|---|
| CO₂ gives the required stable appearance | CO₂ source family and power range become the primary candidate | Source selection follows the qualified material response and cycle requirement. |
| UV gives better detail or lower thermal effect on a compatible surface | UV source becomes the candidate route | The alternate route is justified by measured sample quality, not by assuming UV is universally better. |
| Very small text or fine graphics | Field lens, marking field, optics and working distance | Feature size and field size must be balanced; a larger field is not automatically the best choice. |
| Large artwork or large product marking area | Larger field, indexed movement or multi-position fixture | The required mark area may exceed one practical scan field. |
| Curved or height-varying finished goods | Z travel, focus adjustment, fixture/support and possible focus-control strategy | The mark must remain inside the qualified focus range. |
| Long belts or repeated strap positions | Long fixture, indexed feed, worktable support or conveyor-style handling if justified | Part length and repeat pitch drive the loading method. |
| Variable placement on cut panels or mixed orientation | Vision positioning only when the tolerance requires it | Vision solves part-location variation; it does not replace focus control or material qualification. |
| Large finished bags or cases | Workstation clearance, enclosure opening, table size and Z/workpiece envelope | The product must physically fit without collision and still reach the approved marking zone. |
| High SKU mix or personalization | Job control, variable-data workflow, barcode/order input and file-permission strategy as required | Data-to-product matching becomes part of production quality. |
| Noticeable fume, particulate or odour load | Extraction capacity, ducting/filtration and enclosure airflow review | Extraction must match the actual material and production load. |
| Tight takt time or higher volume | Loading method, fixture count, scan strategy, source power range and automation level | Throughput is a system result; source power alone does not define total cycle time. |
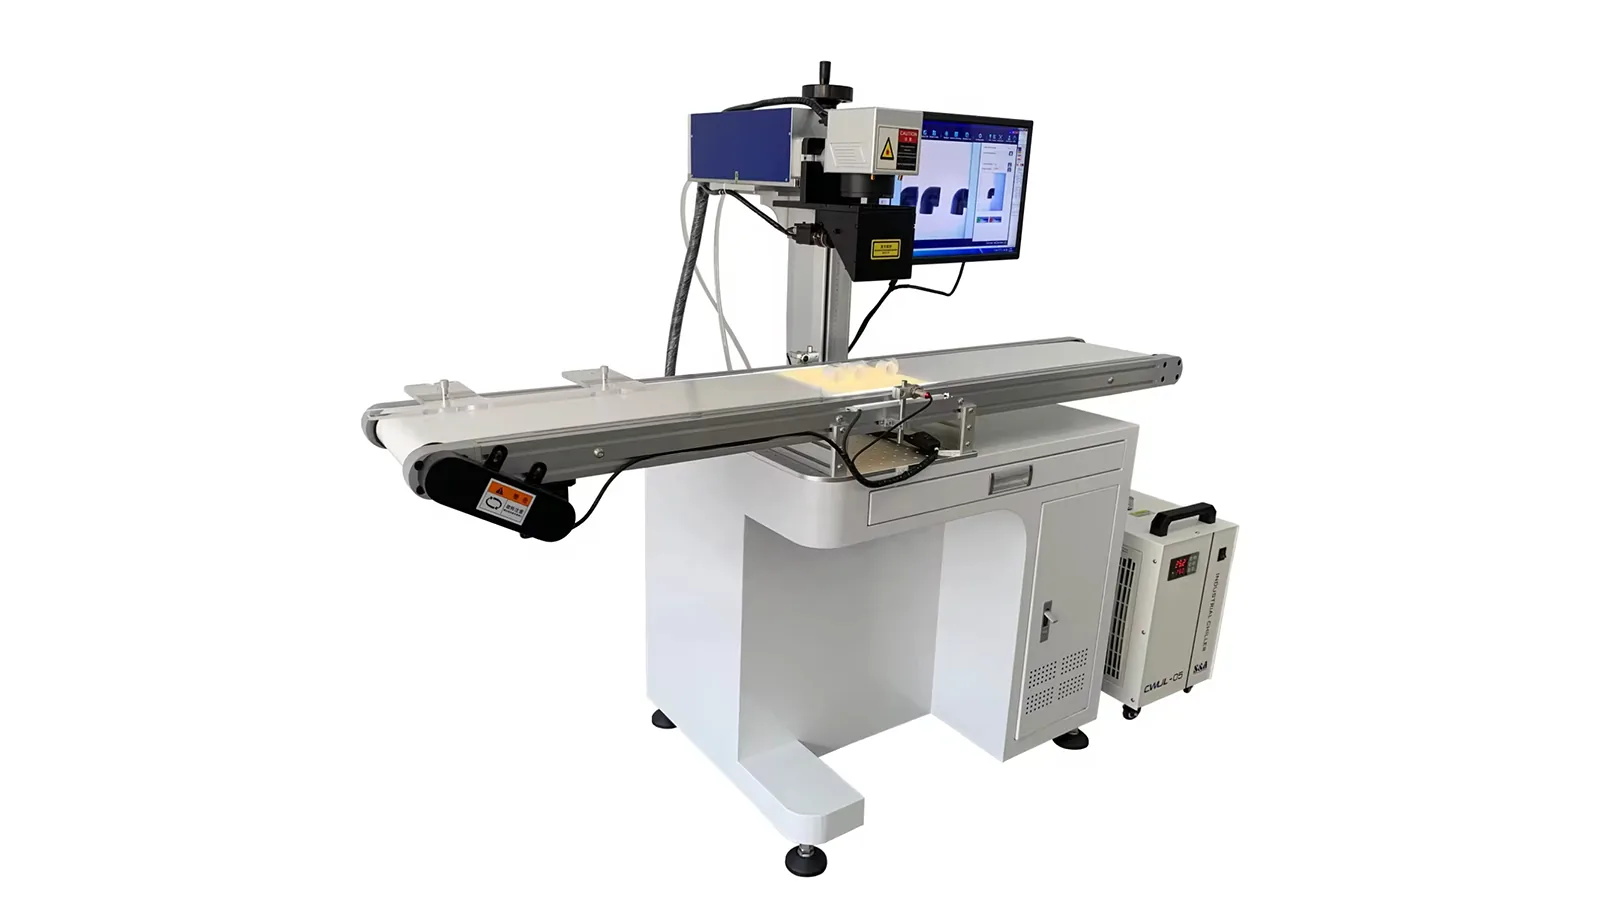
Final review package: qualified samples + approved appearance/durability criteria + product envelope + fixture datum + SKU mix + cycle target + extraction requirement. Together, these are what should drive the quotation and machine configuration.
Leather Goods Laser Marking FAQs
Can laser marking replace hot stamping or embossing?
It can create different visual and tactile effects, but it is not an automatic substitute. Compare the required colour options, hand feel, depth, durability, tooling, personalization needs and production cost on representative products.
Can one machine configuration mark both leather and metal hardware?
Sometimes one workstation can support multiple tasks, but the leather surface and metal buckle or plaque usually require different laser-process evaluation. Do not assume the leather settings or source choice will also qualify the metal hardware.
Send the Product, Material, Artwork and Acceptance Standard
Include product photos, leather construction and finish, artwork, mark position, target appearance, durability checks, product dimensions, SKU mix, personalization needs, cycle expectation and any fixture, vision, enclosure or extraction constraints.