
Part Identification · Serial Numbers · Durability Validation
Aerospace Component Laser Marking
Plan aerospace component marking by defining the part, mark purpose, material and surface condition, target result, controlled marking zone, handling method, first-test laser route and acceptance criteria before the final machine configuration is selected.
Application Definition
What Must Be Defined Before Marking an Aerospace Component?
Before sample testing, collect three input groups so the workpiece, marking task and acceptance conditions are unambiguous. These inputs form the test package; the later result-variables section explains how the workpiece conditions change the marking process.
Part and Drawing Package
- Actual component, exact alloy or polymer, heat treatment and finished surface
- Part number, revision status and controlling drawing or marking specification
- Approved marking zone, datum, protected areas and pre- or post-assembly stage
Marking Data Package
- Required part number, serial, lot, text or machine-readable content
- Artwork, character or code size, orientation and location rules
- Variable-data source, sequence rules and duplicate-control requirement
Production and Acceptance Package
- Loading method and required takt or cycle-time target
- Inspection method, scanner or verifier when applicable
- Durability exposure, prohibited effects and customer approval path
Component Scope
Which Aerospace Components Commonly Need Identification?
Brackets, Housings and Structural Fittings
Machined or formed airframe and structural components may require part numbers, serial numbers, inspection status or supplier data within a tightly controlled marking zone.
- Confirm datum and usable surface
- Protect sealing, bearing and fatigue-sensitive areas
- Validate the finished surface condition
Aerospace Fasteners, Hydraulic Fittings and Small Hardware
Fasteners, hydraulic or pneumatic fittings and other small aerospace hardware can limit character height, code size, fixture access and scanner angle. Part presentation may become as important as the laser process itself.
- Define orientation and repeatability
- Separate flat, curved and irregular surfaces
- Fit readable content within the available area
Actuator, Instrument and Control-System Components
Assembly-stage identification may include actuator housings, instrument housings, covers, selected connectors or replaceable control-system parts where traceability must remain linked to the correct record.
- Confirm pre-assembly or post-assembly marking
- Protect adjacent electronics and sensitive surfaces
- Define rework and reject handling
Why Mark
Why Are Aerospace Components Marked?
Configuration and Part Identification
Part numbers, revisions and approved identifiers help distinguish the correct component configuration during manufacturing, inspection, assembly and service.
Unit-Level Traceability
Serial numbers can connect an individual component to the intended manufacturing, inspection, maintenance or lifecycle record when the production data system is designed to preserve that association.
Lot and Supplier Traceability
Lot, batch or supplier information can support manufacturing-history and supply-chain traceability when those fields are required by the customer’s documentation system.
Inspection, Maintenance and Automated Lookup
Human-readable text and machine-readable codes can support inspection, maintenance, repair and overhaul (MRO), and automated record lookup, but the mark still has to remain readable under the defined viewing and exposure conditions.
Marking Content
What Is Marked on Aerospace Components?
| Mark content | Production purpose | Input to define | Acceptance evidence |
|---|---|---|---|
| Part number and revision | Configuration identification | Approved characters, format, location and revision rule | Correct value, position and legibility |
| Serial number | Unit-level traceability | Data source, sequence, duplicate control and record association | Correct unique identifier linked to the intended part record |
| Lot, batch or supplier code | Manufacturing and supply-chain traceability | Field length, source system and retention requirement | Readable content and documented association |
| Human-readable text | Inspection, maintenance and service identification | Minimum character size, language and viewing condition | Legibility under the defined inspection condition |
| Machine-readable code | Automated lookup and lifecycle records | Code type, payload, size, quiet zone, scanner and quality rule | Verification before and after the required exposure |
Result Variables
What Determines the Laser Marking Result?
Base Material
Define: the exact alloy, polymer or other substrate. Why it matters: the substrate changes absorption, thermal response, ablation behavior and which marking mechanism can produce the required result.
Heat Treatment and Surface Condition
Define: temper, work-hardened state, plating, anodizing, coating, paint or finish. Why it matters: these conditions can narrow the usable process window – the range of settings that can meet the target without crossing surface, depth or durability limits – and can change whether the laser modifies, removes or exposes a layer.
Required Mark Effect
Define: surface contrast, coating modification, light engraving, deeper engraving or another permitted effect. Why it matters: these results rely on different energy delivery and cannot be treated as one universal recipe.
Mark Size and Content Density
Define: character height, code size, payload and available marking area. Why it matters: small text and dense codes change the required spot size, optical field and verification method.
Geometry and Focus Condition
Define: flatness, curvature, height variation, edge proximity and access. Why it matters: geometry changes focus, scanner angle and placement repeatability, and may require a dedicated fixture or focus-management method.
Allowed Surface Change
Define: permitted depth, heat effect, oxidation, coating removal and protected zones. Why it matters: a visually strong mark can still fail if it exceeds the component’s engineering limits.
Durability and Inspection Method
Define: required exposure, viewing condition, scanner or verifier and pass criteria. Why it matters: the process must remain acceptable after the actual inspection and exposure sequence, not only immediately after marking.
Production Quantity and Takt
Define: parts per shift, loading time, marking time and verification time. Why it matters: the final system has to reproduce the accepted mark while meeting the required production cycle.
Target Result
What Should an Acceptable Aerospace Component Mark Achieve?
An acceptable result is defined by the project requirements, not by darkness alone. The sample plan should convert the drawing, specification and production need into observable or measurable acceptance checks.
- Correct part, serial, revision, lot or machine-readable data
- Readable human-readable text under the defined inspection condition
- Machine-readable code performance with the named scanner or verifier when required
- Mark located inside the approved marking zone
- Surface depth, heat effect and coating change within the permitted limits
- Required readability after the defined handling, cleaning, abrasion or environmental exposure
- Repeatable appearance and position across representative production parts
- Correct association between marked data and the intended production record
Geometry and Handling
How Do Part Shape and Loading Affect the Marking Process?
Geometry Controls Focus and Access
Flat coupons can confirm a basic material response, but they do not prove that the same process will remain stable on the actual component.
- Curvature and height variation can move the surface away from the intended focus condition.
- Edges, threads, sealing faces and restricted zones can limit the usable marking window.
- Small parts can require dedicated nests, rotary handling or tighter optical-field choices.
Loading Controls Position and Repeatability
The production method must present the same marking zone consistently enough for the approved process and inspection method.
- Define the datum, orientation and fixture contact points.
- Separate manual single-part loading from tray, nest, rotary or automated presentation.
- Confirm whether the part is marked before assembly or after assembly.
- Include unload, verification, reject and rework handling in the cycle plan.
First-Test Laser Route
Which Laser Route Should Be Tested First?
| Workpiece condition | First question | Starting evaluation route | What the sample must prove |
|---|---|---|---|
| Bare or treated metallic component | What contrast, depth and surface effect are permitted? | For many aerospace metals, start by evaluating a suitable 1064 nm fiber laser marking process window on the exact alloy and finish. | Contrast, edge quality, permitted depth or surface change, heat effect, durability and cycle time |
| Metal requiring tighter pulse control | Does the acceptable window require more control over pulse duration and delivered energy? | Compare a MOPA fiber configuration within the fiber route when the sample objective benefits from a wider pulse-control range. | Whether the additional pulse control improves the accepted result without creating a new surface or throughput problem |
| Anodized, plated, painted or coated surface | Should the mark preserve, modify or remove the surface layer? | Define the intended layer interaction first, then test controlled fiber process windows on representative finished parts. | Layer behavior, underlying-surface protection, readability and durability after the required exposure |
| Polymer or heat-sensitive insert | Which resin, colorant, additive package and thermal limit apply? | Evaluate UV or another lower-thermal-impact route only after the exact material and required mark effect are identified. | Contrast, deformation, cracking, residue, adhesion or assembly compatibility as applicable |
Failure Modes
Where Can Aerospace Component Laser Marking Fail?
| Observed failure | Possible cause | What to check next |
|---|---|---|
| Mark is readable at first but degrades after exposure | Surface-only contrast, unsuitable process window or incompatible coating response | Repeat the defined exposure sequence and compare readability, surface condition and process settings before and after exposure. |
| Depth or surface alteration exceeds the allowed limit | Excessive ablation, pulse energy, overlap or an unsuitable marking mechanism | Confirm the permitted effect, inspect the marked surface and reduce or change the process route rather than optimizing darkness alone. |
| Edges are rough, melted or thermally affected | Excessive local energy density (fluence), focus error, slow scan strategy or excessive overlap | Check focus, pulse delivery, scan speed, hatch spacing and the actual material condition. |
| Coating is removed when it should be preserved | The chosen marking mechanism conflicts with the required layer behavior | Clarify preserve vs. modify vs. remove, then rebuild the sample matrix around that target. |
| Data Matrix or other code scans inconsistently | Low contrast, glare, curvature, small cells, poor focus or position variation | Test the named scanner/verifier under the intended lighting and production geometry, not only on a flat sample. |
| Mark position shifts between parts | Datum, fixture, loading or orientation is not repeatable | Measure presentation repeatability first; use mechanical correction before adding vision unless part variation requires it. |
| Wrong serial number or duplicate identifier is marked | Data-source, sequencing or software-control failure | Check serialization source, duplicate prevention, job selection, verification and record association. |
| Mark looks acceptable but engineering rejects it | Location, depth, heat effect or surface change violates the controlling requirement | Compare the sample against the drawing, process specification and defined acceptance criteria rather than visual appearance alone. |
Production Workflow
How Should the Marking Process Be Controlled in Production?
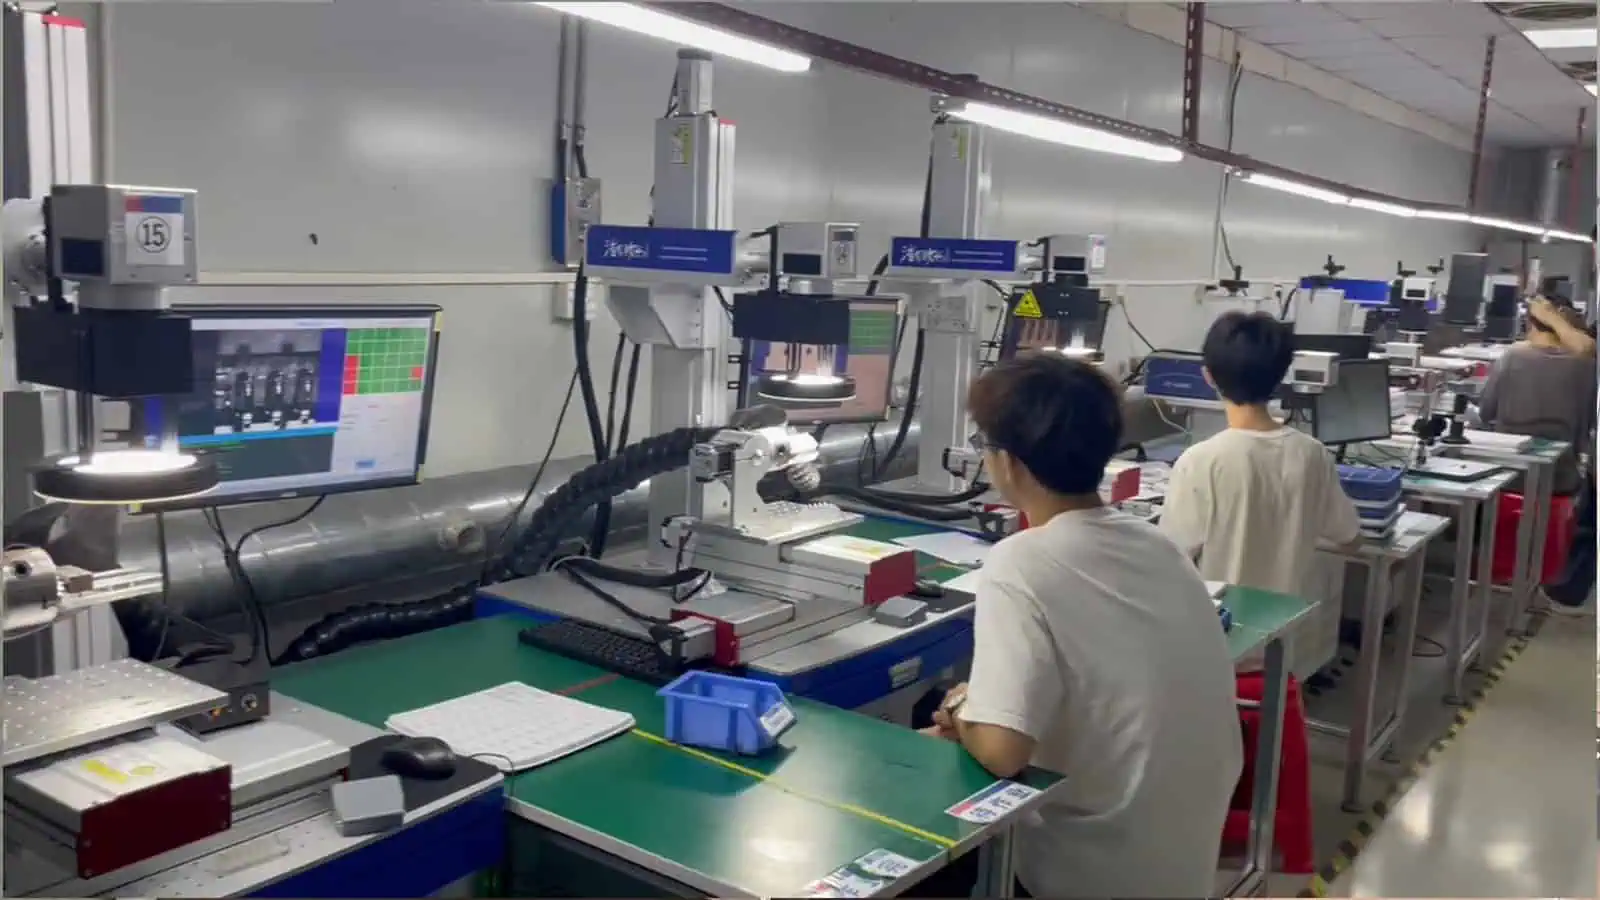
1. Load and Identify the Part
Present the correct component against the defined datum or nest, confirm orientation and protect restricted surfaces.
2. Retrieve the Correct Data
Load the intended recipe and marking content, including serial or variable data, with controls for job selection and duplicate prevention.
3. Mark and Verify
Run the controlled marking sequence, then check position, readability, code quality or other defined acceptance points before the part is released.
4. Record and Disposition
Store the required result or traceability record, separate failed parts and define rework or reject handling before production release.
Sample Acceptance
How Should Representative Aerospace Components Be Validated?
- Use representative parts. Test the actual alloy, treatment, finish, geometry and production marking zone rather than relying only on flat coupons.
- Use real marking content. Include approved artwork, character sizes, serial examples and machine-readable payloads that represent the production task.
- Build a controlled process matrix. Change the laser variables deliberately while keeping the workpiece condition, optical setup and inspection method traceable.
- Inspect the immediate result. Check content, position, readability, code quality when required, and any prohibited surface or depth effect.
- Run the required exposure and reinspection. Apply the specified cleaning, handling, abrasion or environmental exposure and repeat the acceptance checks.
- Confirm repeatability and record the accepted process window. Repeat on representative parts and document the range of settings that repeatedly meets the defined acceptance criteria, together with the fixture and inspection method. Route that result through the customer’s engineering or quality approval process.
Final Machine Configuration
How Do Sample-Test Results Determine the Final Machine Configuration?
The final machine should be configured from the accepted process window and the real production method. The laser source is only one part of that decision.
| What the test or production review shows | What it determines in the final system |
|---|---|
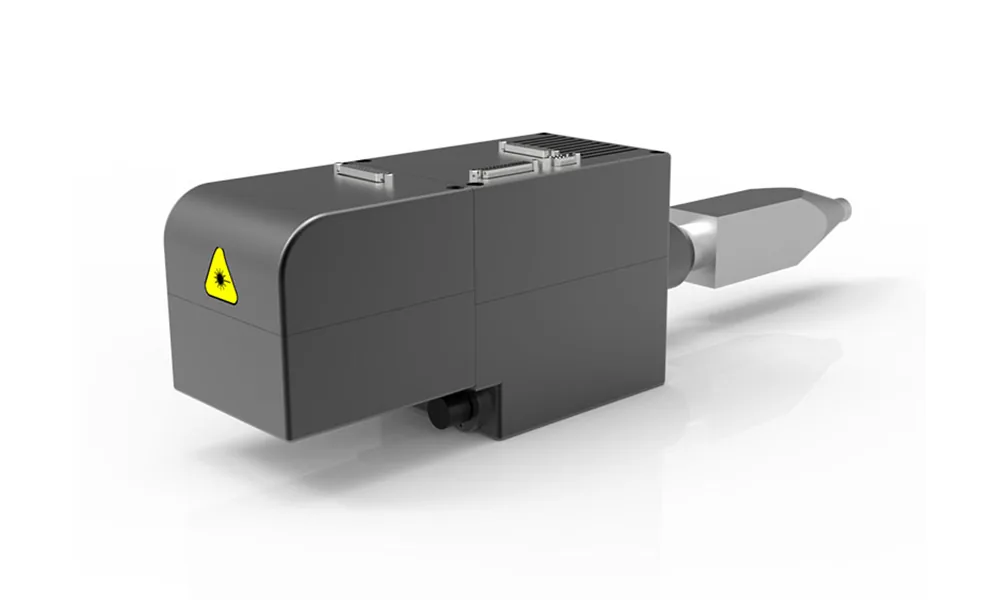
| Accepted process window and required mark effect | Laser source route, pulse-control capability and usable power range |
| Required character or Data Matrix size | Spot-size target, scanner and optical selection |
| Required marking field | Lens / field-size choice and working-distance constraints |
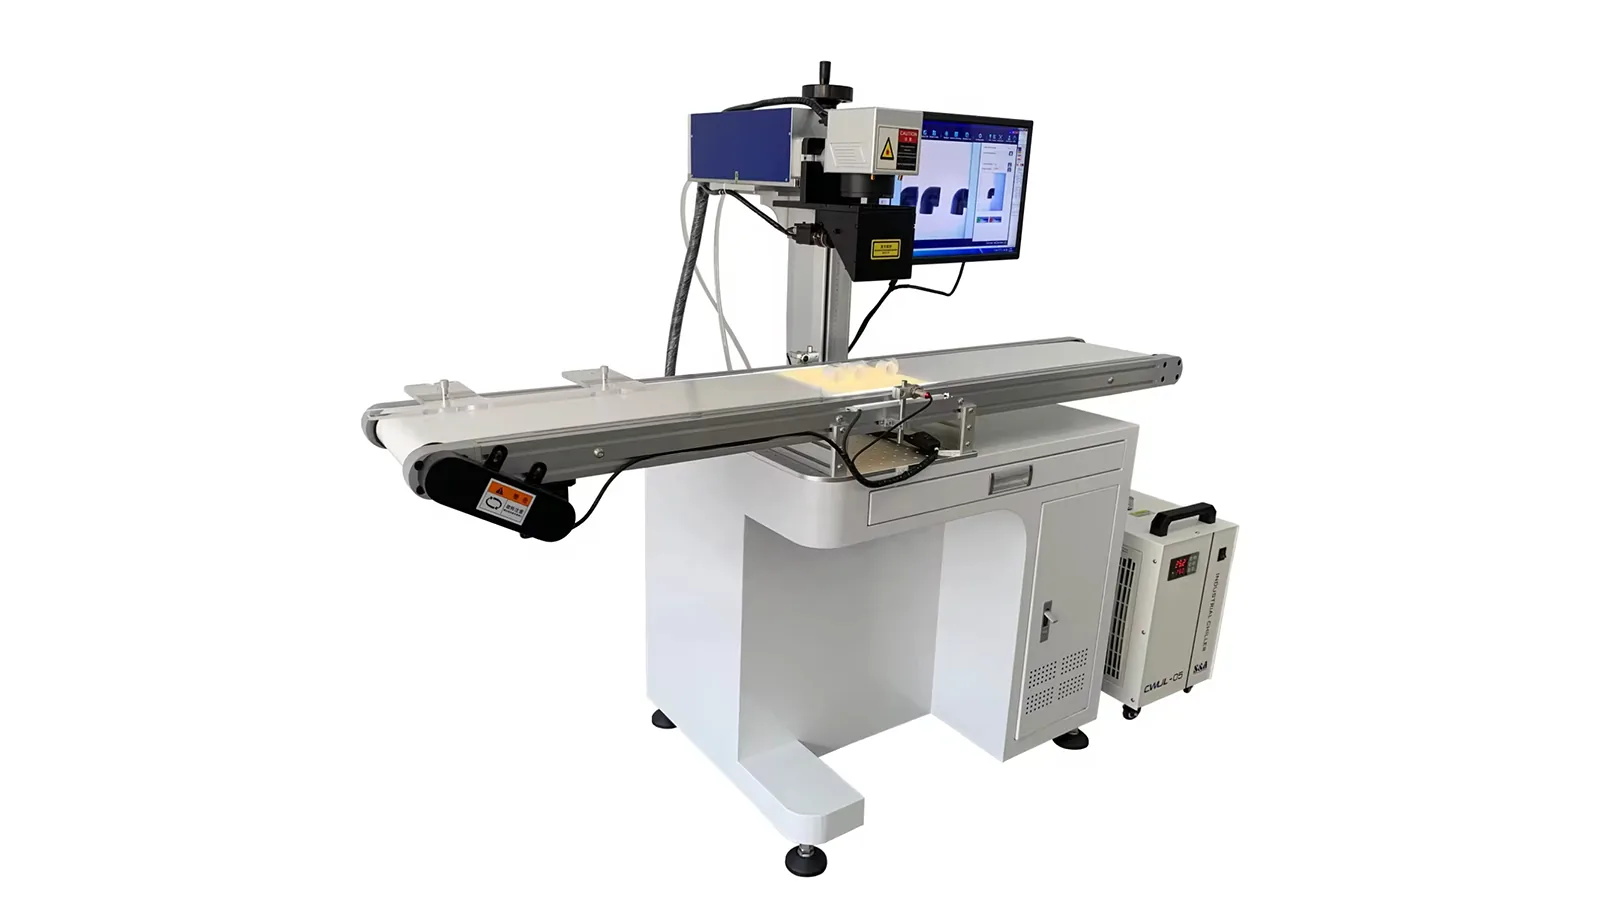
| Curvature or height variation | Fixture strategy, focus-management method and whether dynamic focus or another 3D-capable approach must be evaluated |
| Part orientation and position variation | Mechanical fixture first; vision positioning when the remaining variation cannot be controlled mechanically |
| Round, rotational or very small components | Rotary axis, dedicated nest or part-specific fixture |
| Serialized or variable-data production | Control software, data source, job management and traceability/data integration scope |
| Machine-readable code acceptance | Scanner, verifier or vision-check method and pass/fail workflow |
| Required takt and loading method | Manual, semi-automatic or automated handling level, plus cycle sequencing |
| Fume, particle and operator-safety requirements | Enclosure, extraction and production-cell architecture |
Engineering Review
Prepare an Aerospace Component Marking Sample Test
Share the actual component, material and surface condition, marking zone, required content, prohibited effects, inspection method, durability requirement and production assumptions so the first-test route and final machine configuration can be evaluated together.