
Silicone and Rubber Laser Marking
Evaluate silicone, EPDM, natural rubber, NBR, SBR and other elastomer parts before choosing a laser marking machine. These materials can produce useful marks, but the real result depends on compound, filler, pigment, Shore hardness, surface condition, smoke control and the contrast the production line must read.
Request a Quote Prepare a Sample TestSilicone and Rubber Can Be Laser Marked, but the Compound Decides the Window
For silicone and heat-sensitive elastomers, UV laser marking is often a strong first screening direction when the goal is controlled surface reaction and reduced heat effect. CO2 laser marking is commonly evaluated for rubber engraving, ablation and surface contrast. Fiber or MOPA marking is conditional: it can work on some filled, pigmented or laser-reactive compounds, but it should not be selected from the generic material name alone.
A useful sample test should return more than a pass/fail photo. Ask for the tested laser direction, visible contrast, surface feel, residue, smoke observation, cleaning result, likely fixture or extraction requirement, and whether the result is suitable for quotation, further testing or rejection.
Silicone needs gentle validation
Soft, elastic and translucent silicone can be difficult to mark reproducibly. The process should be checked for contrast, surface feel, residue, elasticity loss and cleaning resistance.
Rubber is not one material
EPDM, natural rubber, NBR, SBR, butyl, neoprene and FKM-type elastomers can react differently because fillers, carbon black, oils, curing systems and additives change absorption.
Smoke is part of the process decision
Smoke, odor, soot and filter loading are not secondary details. They affect mark cleanliness, machine maintenance, operator environment and whether the process is acceptable for a production line.
Material Details That Change Silicone and Rubber Marking Results
A useful test starts with the exact compound, not a broad category. Zhuorui Laser should review the real part, drawing, SDS or material information before recommending a UV, CO2, fiber/MOPA or custom setup.
Silicone type
LSR, HTV, RTV, medical-grade, food-contact, translucent and colored silicone can absorb and discolor differently. A laser marking trial checks mark feasibility only; it does not replace material certification, biocompatibility review or food-contact compliance approval.
Fillers and pigment
Carbon black, silica, titanium dioxide, mineral fillers and laser-sensitive additives strongly affect contrast and smoke.
Hardness and thickness
Soft parts, thin membranes, lips, ribs and molded edges may deform or change feel if heat input is too high.
Surface condition
Mold release, oil, talc, silicone oil, dust, coating and post-cure state can change mark uniformity and residue.
Color and transparency
Black rubber, white silicone, translucent silicone and colored elastomers require different contrast checks.
Acceptance rule
Readable code, low-tactile logo, decorative mark, abrasion resistance and cleaning resistance must be defined before approval.
Do Not Transfer One Rubber Result to Another Compound
A successful result on one black EPDM compound does not prove the same laser route will work on NBR, silicone, CR, FKM or even another EPDM formulation. Use the material family as the starting point, then confirm the actual formulation and molded part.
| Material group | Confirm first | First test focus | Common reason to re-evaluate |
|---|---|---|---|
| Silicone | LSR / HTV / RTV, color, transparency, filler, hardness and surface condition. | Contrast, low heat effect, surface feel, haze and cleaning resistance. | Pigment, filler, hardness, post-cure or surface treatment changes. |
| EPDM | Exact compound, carbon-black or mineral filler level, color and molded finish. | Contrast, ablation behavior, soot, residue and repeatability. | Supplier, formulation, color or production-lot changes. |
| NBR / SBR / natural rubber / butyl | Exact family, pigment, oil, filler, cure system and surface contamination. | Readable contrast without excessive heat, tackiness or residue. | Different compound recipe, additive package or molded surface condition. |
| CR / neoprene and FKM-type compounds | Exact formulation and available SDS or material documentation before testing. | Material response plus fume, residue and extraction review. | Unknown additives, flame-retardant package or formulation change. |
Why Silicone and Rubber Parts Need Permanent Identification
Laser marking is usually considered when ink, labels or contact printing are difficult to keep consistent on flexible, curved or handled elastomer parts. The real requirement is not simply “put text on rubber”; it is to create identification that remains useful without compromising the part surface or function.
Traceability and production control
Part numbers, lot or batch information, date codes and serial identification can support manufacturing traceability, inspection and later service.
Assembly and functional identification
Orientation marks, icons, position references and component identification can help operators assemble, inspect or use the part correctly.
Branding and product identification
Logos, model information and cosmetic symbols may be required where the mark must remain integrated with the molded part rather than depend on an applied label or ink layer.
Where Silicone and Rubber Laser Marking Is Commonly Evaluated
The application changes what the mark must survive and how the part must be handled. A medical silicone tube, an EPDM seal, a keypad and a rubber hose may all need different acceptance checks even when each can be laser marked.
Medical silicone parts
Tubes, masks, seals and components may require gentle marking, cleanability and documented acceptance. Laser marking feasibility does not replace the customer’s biocompatibility, sterilization, regulatory or final-device approval process.
Automotive EPDM seals
Weather strips, gaskets and wiper-related parts may need durable part, lot or production identification without damaging sealing lips. Curved-part support, fixture repeatability and line integration can become part of the final machine setup.
Rubber hose and tubing
Hoses and tubes may need product codes, batch information or continuous production identification. Curved surfaces can require support tooling, rotary handling or an inline marking strategy.
Keypads and consumer silicone
Logos and icons need cosmetic control, tactile feel and cleaning checks. Multi-color or coated keys require separate coating/substrate validation.
Gaskets and molded rubber parts
Part numbers and batch codes must stay readable without damaging sealing edges or changing compression behavior.
Cable sleeves and elastomer covers
Part identification, date or batch coding may need to run at production speed. Online handling, smoke control, code readability and trigger timing should be evaluated after the material reaction is confirmed.
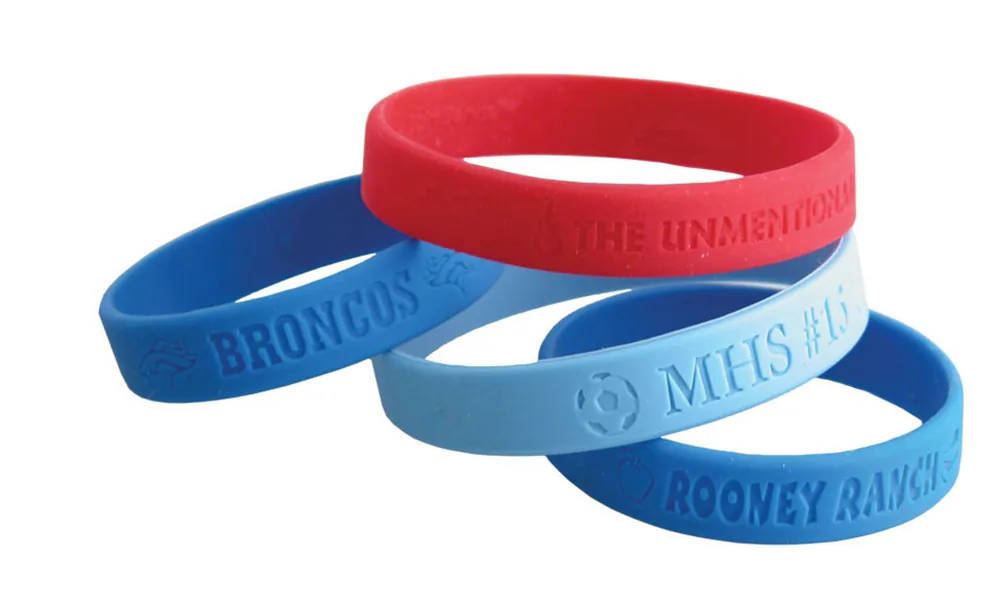
Use the Actual Marked Part to Judge More Than Contrast
A clear visual mark is only one acceptance point. On silicone and rubber, the same sample should also be checked for surface feel, residue, edge quality and what happens after the part is cleaned or mechanically deformed.
Traceability codes
Part numbers, lot or batch information, date codes, serial numbers and other alphanumeric production identifiers.
Logos, icons and functional marks
Brand logos, operating icons, orientation symbols, assembly references and molded-part identification.
Machine-readable codes
1D or 2D codes can be evaluated when the compound, mark size, contrast and reading conditions support reliable scanning. Code readability should be validated on the final part rather than assumed from appearance alone.
Define the Acceptable Mark Before Comparing Laser Sources
A mark can be visually obvious and still be unacceptable if it changes sealing performance, feels rough, leaves residue or fails after cleaning and flexing. The target result should describe both appearance and what the part must still do after marking.
What should be included in acceptance?
- Required contrast under the actual production or inspection lighting.
- Maximum acceptable depth, roughness or tactile change.
- No unacceptable sticky residue, soot, contamination or burned edge.
- Cleaning, wiping or abrasion resistance when the application requires it.
- Bend, stretch or compression checks when the marked area is mechanically deformed in use.
- Functional limits around sealing edges, membranes, skin-contact surfaces or other sensitive areas.
Judge the Mark by Material Response, Not Contrast Alone
Silicone and rubber can respond with color change, pale contrast, engraving, frosting, ablation or exposed filler. The acceptable result depends on color, pigment, filler and lighting, but it must also stay within the allowed surface-feel, residue, depth and functional limits defined above.
| Material condition | Typical direction to evaluate | Main risk | How to approve |
|---|---|---|---|
| Black silicone or black rubber | Pale gray / white contrast, shallow engraving or filler-exposure effects may be possible. | Soot, weak readability, roughness or residue. | Inspect under production lighting, then wipe or clean as required. |
| White or light silicone | Darkening, shallow engraving or controlled tone change may be evaluated. | Yellowing, burned edges or cosmetic inconsistency. | Compare the actual part against the agreed appearance tolerance. |
| Translucent silicone | Lower-heat routes such as UV are often worth screening first. | Haze, uneven contrast or background-dependent visibility. | Inspect on the final mounting background and viewing angle. |
| EPDM or other filled rubber | CO2 or, on suitable laser-reactive compounds, fiber / MOPA may be evaluated. | Smoke, soot, residue and lot-to-lot variation. | Use the actual molded compound and repeat critical checks across production lots when needed. |
| CR, FKM-type or unknown rubber | Review compound information and SDS before selecting the test route. | Fume chemistry, aggressive residue or extraction burden. | Confirm material identity and safe extraction procedure before testing. |
How Shape, Wall Thickness and Part Size Change the Marking Process
Elastomer parts move, compress and bend. A laser setting that works on a flat coupon can fail on the production part because fixture pressure, focus variation, curvature or local wall thickness changes the energy delivered to the surface.
| Part condition | What changes | What to validate | Possible machine / fixture implication |
|---|---|---|---|
| Soft or compressible silicone / rubber | Fixture pressure can change part height and focus. | Mark consistency in the actual clamped state and after release. | Low-force support, repeatable fixture or custom nest. |
| Thin wall, membrane, lip or sealing edge | Local heat or excessive engraving can change feel, stiffness or functional geometry. | Depth limit, deformation, elasticity and functional integrity. | Lower-heat process window, controlled focus and protected no-mark zones. |
| Hose, tube, O-ring or curved seal | Surface height and angle change across the mark area. | Focus, character shape and contrast around the curvature. | Rotary, support tooling, indexed rotation or 3D focus depending on geometry. |
| Textured, recessed or molded-detail surface | Local surface height and texture can make contrast uneven. | Small-feature readability and edge quality on the final molded texture. | Accurate fixture, focus strategy or vision-assisted positioning where useful. |
| Large part or long continuous product | The required mark may exceed one static working field or need repeated positioning. | Indexing accuracy, trigger timing, part handling and total cycle time. | Larger field, axis movement, conveyor or flying-marking evaluation. |
| Marked area bends or stretches in use | The mark itself deforms with the substrate. | Readability, cracking, flaking, surface damage and contrast after repeated deformation. | Acceptance test on the actual use condition, not only the flat part. |
Choose the Laser Direction from the Target Effect and Compound
No single laser source fits every silicone or rubber formulation. Start from the target effect and compound response, then verify surface quality, extraction needs and production rate on the real part.
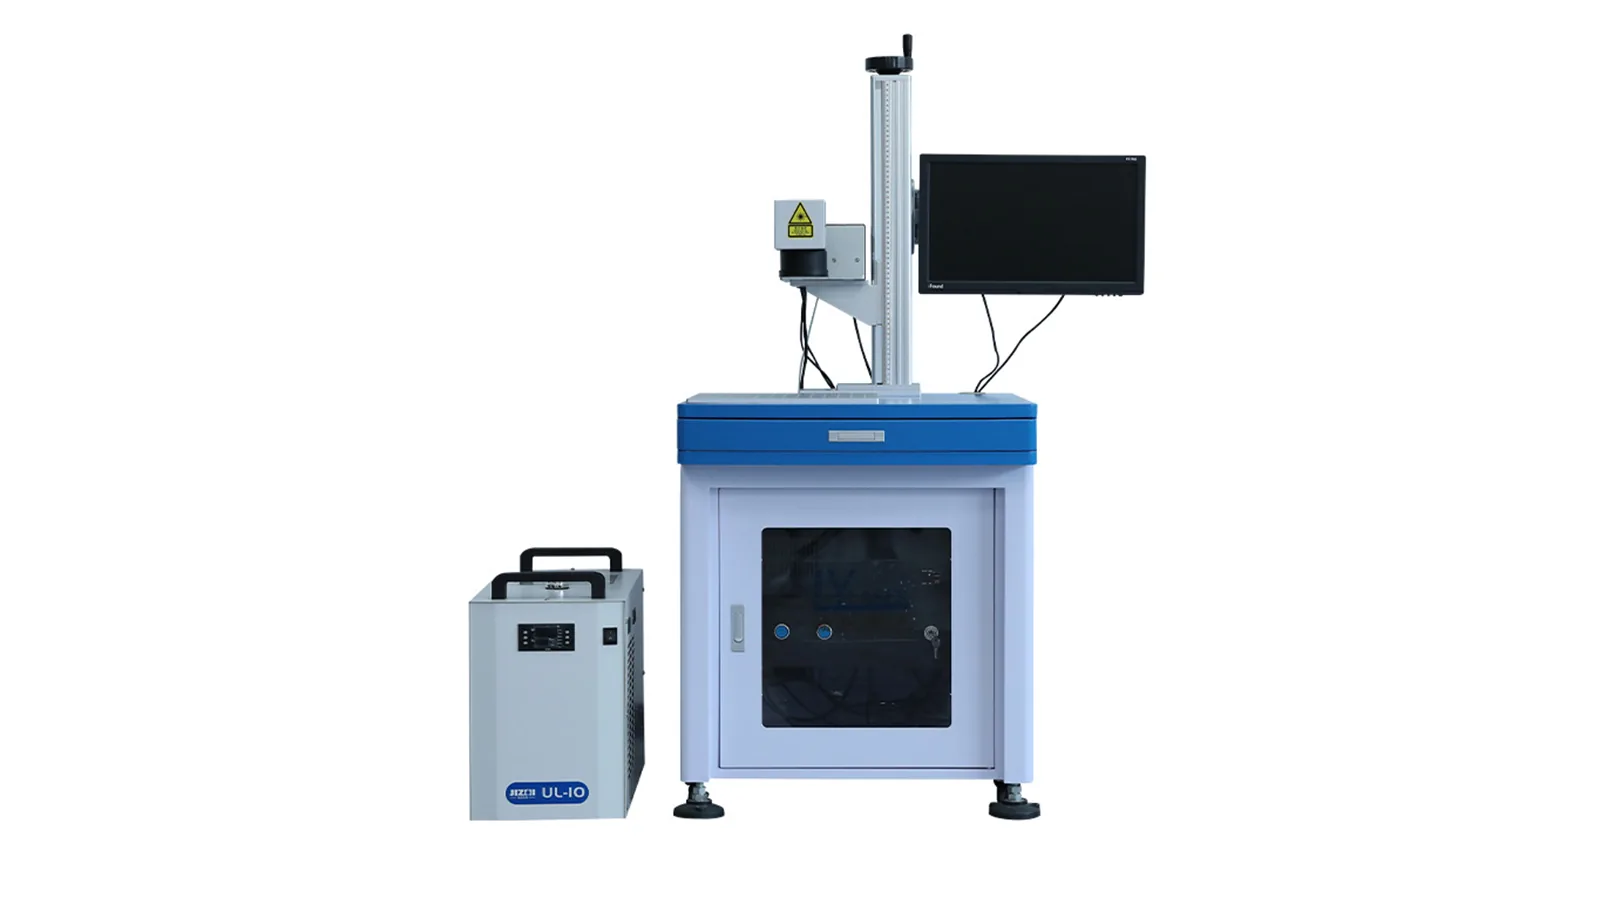
UV route
Often screened first for silicone, fine details and applications where limiting heat effect matters.
UV laser marking machines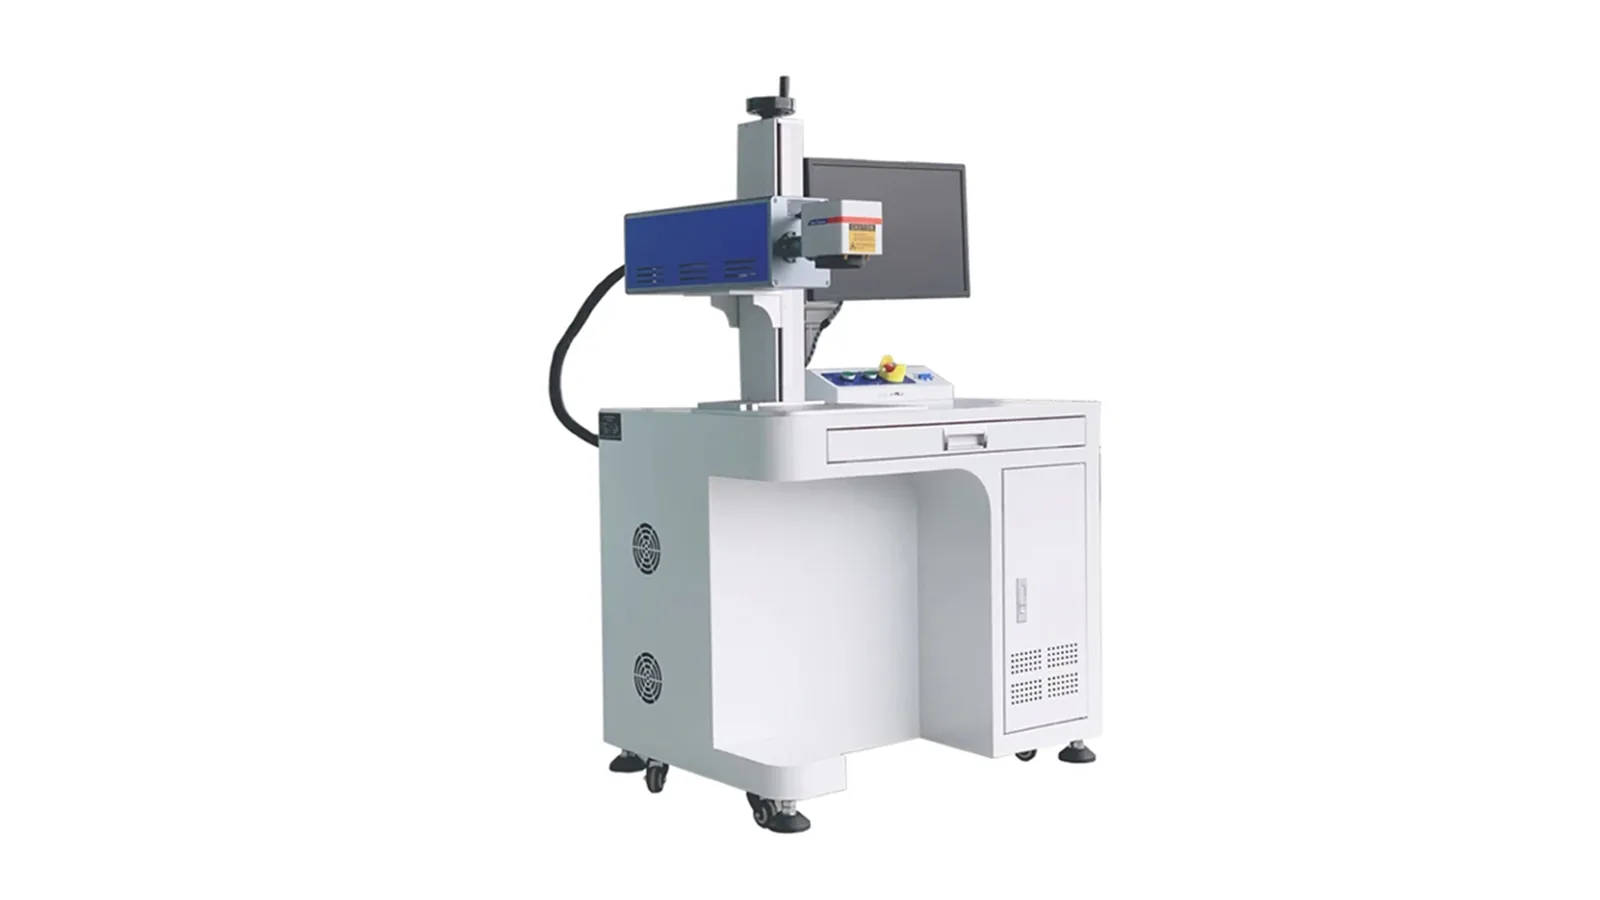
CO2 route
Commonly evaluated for rubber engraving, ablation and some pale-on-dark effects.
CO2 laser marking machines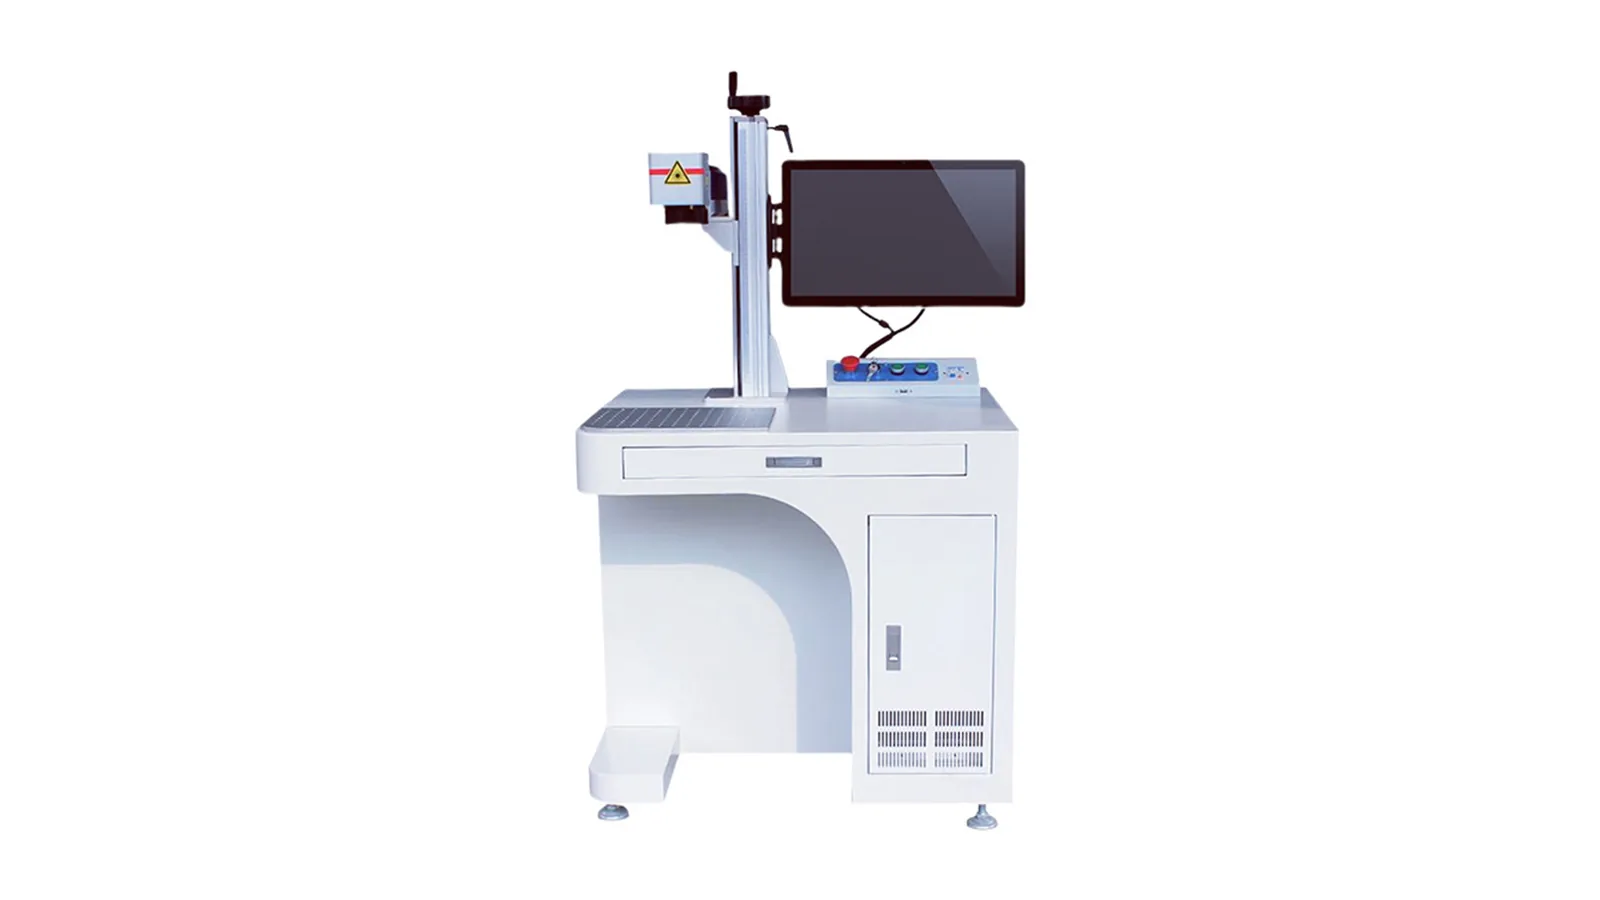
Fiber / MOPA route
A conditional route for some filled, pigmented or laser-reactive elastomers.
Fiber laser marking machinesPractical first-test direction
| Starting condition | First route to evaluate | Do not approve until you check |
|---|---|---|
| Silicone requiring fine detail or limited heat effect | UV is often a practical first screening direction. | Contrast, haze, surface feel, cleaning resistance and cycle time. |
| Dark rubber requiring shallow engraving or surface removal | CO2 is commonly evaluated first. | Soot, residue, edge quality, depth and extraction load. |
| Filled, pigmented or laser-reactive elastomer | Fiber / MOPA can be tested conditionally where 1064 nm absorption is plausible. | Weak absorption, overheating, tackiness and repeatability. |
| Unknown CR, FKM-type or special compound | Review material documentation and SDS before choosing a route. | Compound identity, fume risk, extraction and safe test procedure. |
Common Silicone and Rubber Marking Failures and What to Check Next
Low contrast, residue, heat damage and geometry-related inconsistency do not have the same cause. Use the observed failure to decide whether to change the laser route, energy window, compound, focus / fixture or extraction before repeating the test.
| Observed problem | What to investigate | Practical next step |
|---|---|---|
| Contrast is too weak | Wavelength absorption, pigment, filler, laser-sensitive additive, mark size and lighting. | Compare another laser route or, when formulation changes are allowed, review pigment / laser-additive options with the material supplier. |
| Surface becomes sticky, rough, yellowed or softened | Excess thermal input, repeated passes, poor focus or an unsuitable reaction window. | Reduce heat accumulation, correct focus or screen a lower-heat process direction. |
| Heavy soot, smoke or residue | Ablation level, compound chemistry and extraction effectiveness. | Adjust the process and evaluate extraction / filtration before production approval. |
| Mark wipes off after cleaning | Loose residue or superficial surface change rather than a stable mark. | Add wipe / cleaning validation and test a different process window or laser route. |
| Uneven mark on a curved part | Focus variation, part movement, fixture pressure or changing surface angle. | Correct fixture and focus strategy before judging the laser source itself. |
| Mark changes after bending or stretching | Substrate deformation, excessive engraving depth or a brittle modified surface. | Validate under the real bend, stretch or compression condition. |
| Good result on one lot, poor result on another | Formulation, pigment, filler, cure or supplier variation. | Compare material documentation and re-test the changed production lot. |
Fume-control gate: unknown, halogenated, fluoro or flame-retardant elastomers should be reviewed from available material / SDS information before testing. Record smoke, odor, soot and deposits during trials, then include extraction capacity, filtration, lens protection and cleaning needs in the production setup.
What to Send Before Choosing a Silicone or Rubber Laser Marking Machine
A controlled sample test should narrow the laser route and show whether the result is acceptable on the real compound before the machine configuration is fixed.
- Material family and compound name if available: silicone, EPDM, NBR, SBR, natural rubber, neoprene/CR, FKM or other elastomer.
- Color, transparency, filler, pigment, coating, release agent, Shore hardness and part thickness.
- Real molded production parts when shape, texture or surface finish can change the result.
- Target mark content, size, depth limit, contrast requirement, reading method and cleaning / abrasion test.
- Fume, odor, residue and extraction restrictions for the factory environment.
- Handling need: manual station, fixture, rotary, vision positioning, conveyor or flying marking.
- Target cycle time, parts per hour, marks per part and expected shift pattern.
1. Laser source and power direction
Confirm UV, CO2, fiber/MOPA or another verified route from the actual compound response. Power and source configuration should follow the tested process window and throughput requirement rather than the material name alone.
2. Lens, field and focus strategy
Set the marking field from part size, code size and required detail. Curved or height-varying parts may need rotary handling, controlled fixtures or 3D focus evaluation.
3. Part handling and positioning
Choose manual placement, custom fixture, rotary, indexed motion, vision positioning, conveyor or flying marking according to geometry and production flow.
4. Fume extraction and maintenance
For smoke- or residue-producing rubber processes, include extraction capacity, filtration, lens protection and cleaning requirements in the equipment decision.
5. Inspection, safety and enclosure
Confirm code-reading or vision needs where applicable, then review the complete machine guarding, enclosure and safety configuration for the intended installation.
6. Production rate and quotation
Use target cycle time, parts per hour, marks per part, loading method and shift pattern to confirm whether the validated mark can be produced at the required rate before final quotation.
Quotation sequence: sample acceptance -> laser route -> lens / marking field -> fixture or handling -> extraction / vision / safety options -> target cycle time -> final configuration and quotation.
Silicone and Rubber Laser Marking Questions
What is the best laser marking machine for rubber?
There is no single answer for all rubber. CO2 is often evaluated for engraving or surface ablation on rubber, while fiber/MOPA may work on some filled or pigmented compounds. The correct choice depends on compound, color, target effect, smoke control and sample testing.
Can silicone be laser marked without damaging the part?
Silicone can be marked in some cases, and UV is often a good first screening route for gentle, high-contrast marking. The process still needs validation for surface feel, elasticity, residue, cleaning resistance and the actual silicone formulation.
Why does rubber laser marking create smoke?
Laser energy changes or removes material at the surface, and rubber compounds can contain fillers, oils, curing systems and additives that create smoke, odor or soot during processing. Extraction and filter planning should be part of the marking decision.
Can one setting mark EPDM, NBR and silicone?
Usually no. EPDM, NBR, silicone and other elastomers absorb laser energy differently. Even the same rubber family can vary by filler, pigment, hardness and supplier batch, so sample testing is required.
How do I know which machine configuration I need after a successful sample?
Use the approved sample result together with the real part geometry, marking field, target cycle time, parts per hour, loading method, extraction requirement and any fixture, rotary, vision or conveyor need. The final quotation should be based on that combined production requirement rather than the material name alone.
Send the Actual Silicone or Rubber Part Before Final Machine Selection
Share the material family, formulation details if available, color, hardness, part geometry, mark content, target result, smoke restrictions, target cycle time and parts per hour. Zhuorui Laser can then screen the laser route, sample-test direction, lens / field, fixture or handling, extraction and other configuration needs before quotation.
Request a Quote Contact Us